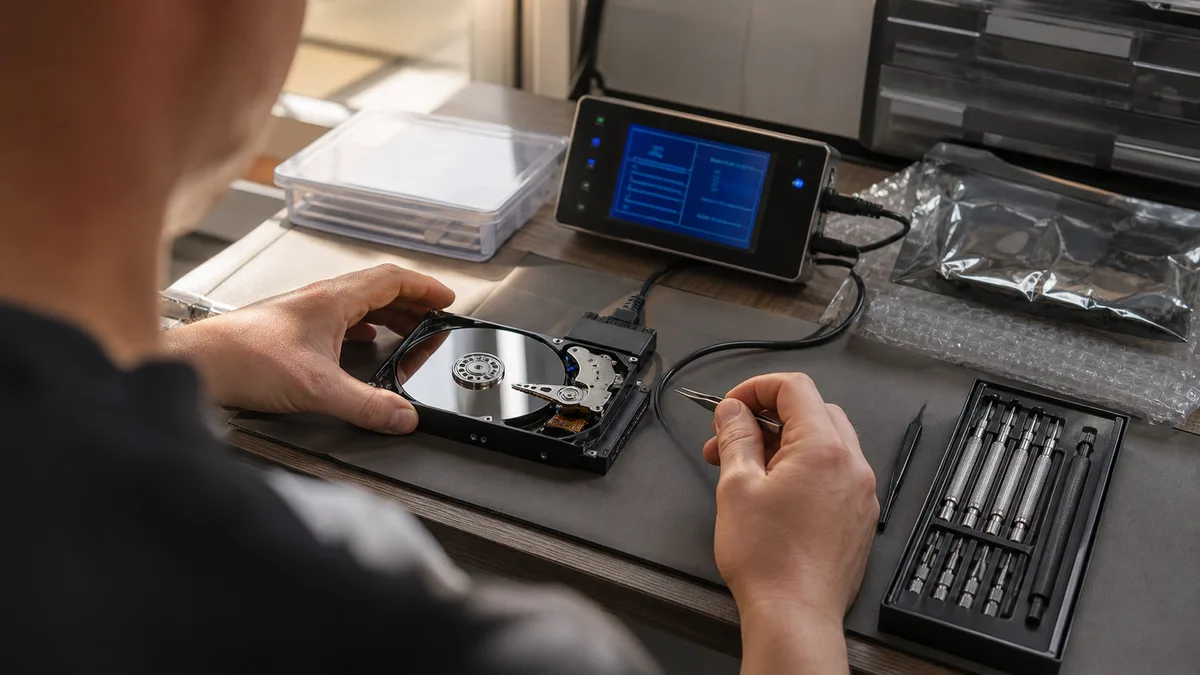
The short answer: Bring the disk to Brno in person if it is clicking, fails to mount after a drop, holds the only copy of operational data, or if your company cannot wait for shipping. Before the trip, power the media off, do not run CHKDSK or a RAID rebuild, and arrange the drop-off by phone. What follows after handover is not file copying, but logging and diagnostics — only that will determine the real timeline and price.
This text does not deal with how to recover data yourself at home. It addresses two different questions: how to recognise when it is time to hand the media over to a professional, and what to do between that decision and the handover to avoid making the data’s condition worse. Most irreversible damage does not happen in the lab — it happens during those few days when the disk is „just being tested a bit more".
We perform the data recovery ourselves: the media is received and processed by ITHOPE s.r.o. in its own laboratory in Brno-Židenice. All timelines, procedures, and prices described below are therefore ours — we never forward the disk elsewhere.
When in-person drop-off makes sense
In-person drop-off is not always necessary. It makes sense in three situations: the media is damaged to the point where you want to supervise the transport yourself; the company cannot wait for a courier; or you are handing over multiple related components where their mutual order and connection matters.
Do not wait and call if the device shows any of these symptoms:
- The HDD clicks, beeps, repeatedly spins up, or stopped being detected after a drop.
- The computer or NAS can see the disk, but reading is extremely slow or ends in an I/O error.
- Windows offers to initialise, format, or repair the drive.
- Synology DSM reports
Storage Pool DegradedorVolume Crashed. - QNAP shows
RAID Group Degraded,Volume Read-Only, or a missing array member. - An SSD, USB flash drive, or memory card does not show up even on another computer.
- Data was accidentally deleted, the disk was formatted, or a system reinstall overwrote it.
- A laptop, external drive, or NAS was spilled on, dropped, or hit by a power surge.
Bringing in the disk itself does not mean the data will be ready in an hour. It does, however, let you skip shipping, describe the failure symptoms to someone who will ask the right follow-up questions, and have the media placed into the appropriate processing mode on the very first day.
What to do before the trip
Power off the damaged media and leave it off. Do not test whether it „will mount just one more time". For a mechanically damaged HDD, every additional start means another motor spin-up and another contact between the heads and the platters — precisely the action that turns a readable platter into one with a gouged track. For SSDs, the opposite logic applies: upon power-up, the controller starts internal maintenance, relocates blocks, and releases those the file system has marked as deleted. A powered-on disk can therefore genuinely erase deleted data even without your involvement.
Do not run CHKDSK, volume repair, disk initialisation, or a RAID array rebuild. All these operations write — either to the media or to the array structure. Why a rebuild on a degraded array is particularly treacherous is detailed in the article why a rebuild kills RAID arrays.
CrystalDiskInfo or the smartctl command can read SMART diagnostic data but repair nothing. Additionally, do not run long self-tests on a clicking or unstable disk — you are forcing faulty mechanics to read the entire surface. How to read SMART data sensibly is summarised in how to tell if an HDD or SSD is dying.
Do not automatically remove an external disk from its enclosure. Many portable drives from the Western Digital My Passport family have a USB interface directly on the drive’s electronics and are often linked with hardware encryption tied to this controller — the platters inside a different enclosure will remain encrypted. Safe first steps for an external drive are described in external drive not loading or not visible.
What to communicate during the initial phone call
For the initial decision — whether to bring in the disk alone, the entire laptop, or the whole NAS — a few specific sentences are enough:
- Type and exact device model: WD My Passport, Seagate Expansion, Samsung T7, Synology DS923+, QNAP TS-464.
- What preceded the failure: a drop, liquid spill, power outage, deletion, DSM/QTS update, disk replacement.
- What the device does after powering on and whether it makes unusual sounds.
- What attempts have already been made — including CHKDSK, data recovery programs, or an array rebuild.
- Whether the media is encrypted with BitLocker, FileVault, or NAS encryption.
- Which data is a priority and how long an outage the company can tolerate.
You do not need to know the technical cause. An accurate description of the behaviour is always more useful than guessing that the disk is „probably fried„ — the symptom „not even Disk Management sees it" follows a different path than „it sees it, but folders take a minute to open".
What to bring along with the disk
For a standalone internal SATA HDD or SSD, the media itself is usually enough. For other devices, follow this rule:
| Device | What to bring |
|---|---|
| External HDD or SSD | the entire device, original USB cable, and its power adapter if it has one |
| Laptop | the whole laptop, if you are unsure about removing the disk or if the storage is soldered on |
| Synology or QNAP | all disks labelled by their position; upon agreement, the entire NAS as well |
| RAID server | all array members, the controller, and any available configuration or documentation |
| USB flash drive or SD card | the media itself, with no further formatting attempts |
| Camera recorder | disks in original order; depending on the situation, the recorder as well |
| Encrypted device | recovery key, password, or details needed for unlocking |
For a NAS, do not swap the order of the disks. Label the bays 1–4 before removal, regardless of whether the disks are WD Red, Seagate IronWolf, or Toshiba N300. The disk model says nothing about the configuration — RAID 5, SHR, LVM on top, and the file system are information stored elsewhere, and the order of members is crucial for reconstruction. What needs to be addressed for specific platforms is covered in the texts data recovery from Synology NAS and data recovery from QNAP NAS.
Do not send the BitLocker recovery key loosely inside the laptop box. Arrange its handover separately — why it matters so much is explained in the article on BitLocker.
How to transport the media safely
A powered-off HDD withstands transport significantly better than a running one, but it is still a mechanism with bearings and parked heads. The ideal is an antistatic bag and several centimetres of firm, soft material on all sides so the disk cannot move inside the box. Do not carry a bare disk loose in a backpack, in a car door pocket, or lying on the seat, and do not rely on a thin bubble envelope.
Do not dry a liquid-damaged disk with a hairdryer, on a heater, or in rice — heat accelerates contact corrosion, and rice introduces dust and starch into the device. Above all, do not connect it „just to test"; residual moisture between powered contacts will reliably burn the electronics. Bring information about what liquid was involved and when the incident occurred. This is discussed in more detail in device underwater and data recovery.
Do not open a damaged HDD yourself. Dust, invisible in a normal room, is an obstacle for a platter spinning at thousands of revolutions per minute — one over which a head flying at a microscopic height will not pass without consequences for the recording layer.
What happens after handover
The first step is not file copying, but logging the media and performing diagnostics. The technician needs to distinguish a logical problem from a fault in the electronics, read/write heads, motor, NAND memory, or controller — and each of these paths looks different in terms of both cost and time.
For an unstable disk, data is not recovered through standard copying via File Explorer. First, a sector-level copy is created, with error handling and limits on read retries, so that bad areas do not cause delays and do not burden the mechanics more than necessary. Only on top of this copy are NTFS, exFAT, APFS, ext4, btrfs, RAID, or other data structures reconstructed. What such a procedure looks like up close is shown in how to get data from a damaged HDD.
Specialised workplaces use hardware imagers and systems like PC-3000 with Data Extractor or DeepSpar. The tool’s name alone, however, is no guarantee. What is decisive is whether the work is done without writing to the original, whether the risk is described in advance, and whether the intervention proceeds only after your approval.
After diagnostics, you should receive at least this information: the type of damage, the realistic possibility of recovery, the expected scope of results, the price, and the timeline.
How quickly it can start and finish
An in-person handover shortens the media’s journey to diagnostics — but it does not shorten the recovery itself. Deleted files on an otherwise functional HDD are a completely different case from a disk with crashed heads or a four-disk array with an uncertain member order.
Processing time is therefore not determined by a chosen „package", but by the type of fault. As a rough guide, expect the following:
| Type of case | Approximate time |
|---|---|
| Logical fault (deletion, formatting, damaged file system) | 1–3 days |
| Mechanical fault | 5–14 days |
| RAID array reconstruction | 7–21 days |
| Express mode (completion within 48 hours) | 50–100% surcharge |
These are approximate figures according to our Data Recovery page, verified as of 16 July 2026; a binding timeline is confirmed only after diagnostics. It is influenced by the extent of the damage, the media capacity, the speed of safe reading, and the availability of a compatible donor disk. For a business outage, therefore, state right at the start whether you need the complete archive or, first, the accounting, projects, or one specific database. An accounting database of a few gigabytes can have greater value for restoring operations than several terabytes of old archives.
How much it will cost
An exact price without diagnostics is not credible, because the same symptom routinely has several different causes. A disk that Windows cannot see may have a faulty cable, a faulty USB bridge, damaged electronics, scrambled firmware, or a mechanical fault — and the difference between these variants is an order of magnitude.
The price depends on the type of fault: logical cases are the cheapest, while mechanical interventions requiring the disk to be opened and donor parts used are the most expensive. The current approximate price range can always be found on the Data Recovery page — we deliberately do not rewrite them into the article, so that an out-of-date figure does not remain here after a price list change. In every case, the decisive factor is the specific price quote you receive after diagnostics and before the recovery starts; until that moment, you can decline the job. In the quote, we always specify everything included in the price and whether it is inclusive or exclusive of VAT: diagnostics, work with donor parts, copying the results, the new target medium, and shipping. The pricing factors are examined in depth in the article how much does data recovery from a disk cost.
How to recognise a quality offer
A provider should not promise a 100% success rate. The outcome depends on the physical state of the recording layer, whether the data has already been overwritten, the function of the controller, and the availability of encryption keys — and none of that can be known in advance.
Before handover, verify:
- whether the diagnostics will be performed without writing to the original media;
- when you will receive the price and whether the recovery can be declined;
- whether a working copy is created first;
- how passwords, recovery keys, and corporate data are handled;
- who has access to the data and how it will be erased after the job;
- whether you will have the opportunity to verify the most important files;
- what happens to the original disk and the donor parts.
For corporate data, designate a contact person authorised to approve the price and receive the results beforehand. This prevents accounting records, HR documents, or contracts from being released to someone merely because they were the one who brought the media in.
When a company needs the data now
Stop any further writes — power off the device, disconnect it from the network, and, for a NAS, do not perform a rebuild — and call our non-stop data recovery hotline at +420 775 556 063. Describe the device, symptoms, previous attempts, and the operational impact. The technician will tell you whether to bring in just the disk, the whole laptop, the NAS, or all array members.
Meanwhile, prepare a list of priority folders and systems. That moment will determine whether the company is running again in three days or three weeks — not because the rest of the data wouldn’t be recoverable, but because the order of recovery can only be defined if someone states it upfront.
Frequently asked questions
Can I come without an appointment? Call before the trip and arrange the handover. You will get confirmation of exactly what to bring and how to transport the media.
Does it make sense to bring the whole computer? Yes, if you are unsure about safely removing the disk, the storage is soldered to the motherboard, or it is unclear whether the fault originates from the disk, the power supply, or the controller.
Can I run CHKDSK before handover? No. CHKDSK alters the file system structure by writing to the media and can significantly complicate subsequent recovery of a damaged disk.
How quickly can I get the data back? We handle logical faults in roughly 1–3 days, mechanical faults in 5–14 days, and RAID array reconstruction in 7–21 days. Completion within 48 hours is handled through an express mode with a 50–100% surcharge. However, both feasibility and the timeline must be confirmed by diagnostics — a mechanical fault or waiting for a donor disk will extend the timeline.
Do you need the BitLocker recovery key? Generally, yes, to access encrypted data. Repairing the media does not remove the encryption itself, so have the key ready for secure handover.
Where to find us
ITHOPE is a company based in Brno, Czechia: we do data recovery from disks, RAID and NAS, PC and laptop service and IT for business, all in our own lab at Viniční 3587/216, 615 00 Brno.
Phone +420 775 556 063 (24/7 line). You can bring the device in person, or send it by courier (Zásilkovna, PPL).