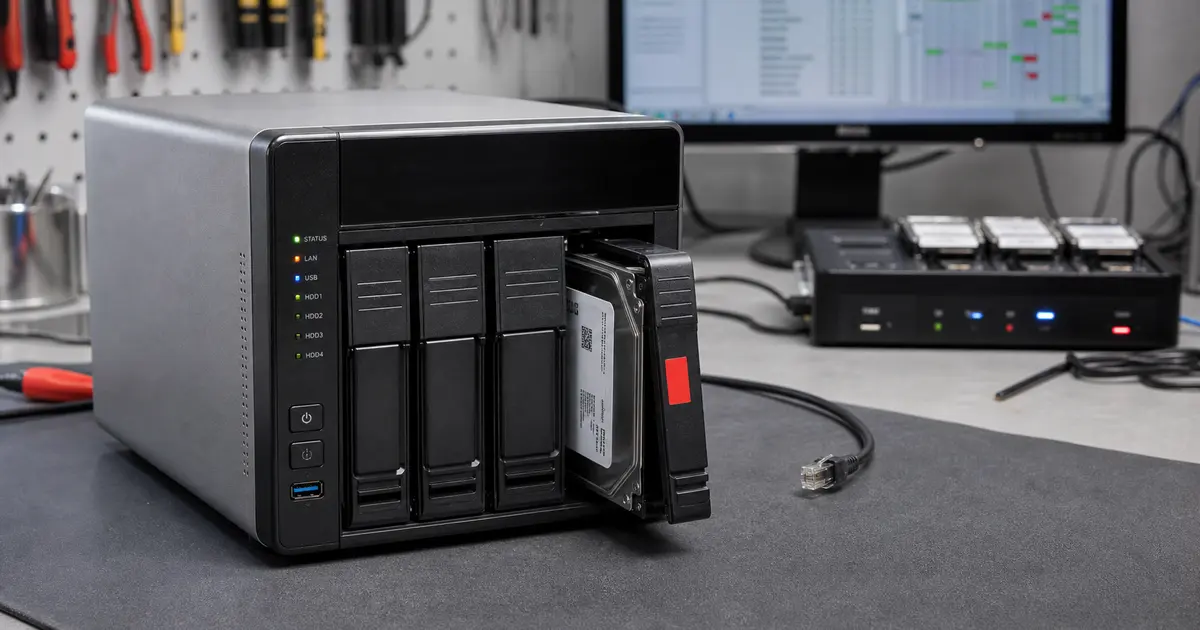
Immediate answer: If your QNAP NAS has stopped responding and the Volume is unavailable or read-only, shut the device down immediately. Do not, under any circumstances, click the „Recover„ button in Storage & Snapshots, do not run a file system check, and do not connect the drives directly to a PC. In the vast majority of cases, the data is still physically on the platters, but unprofessional repair attempts will overwrite LVM thin metadata or disrupt the RAID array, making recovery far more complex. With equipment such as PC-3000 and DeepSpar cloning stations, we handle QNAP recovery routinely and tackle even critical scenarios like „Volume is not active". A simple initial assessment may be free; analysis of multiple drives, array reconstruction, deleted data or metadata may be charged — we quote the price before any paid work begins.
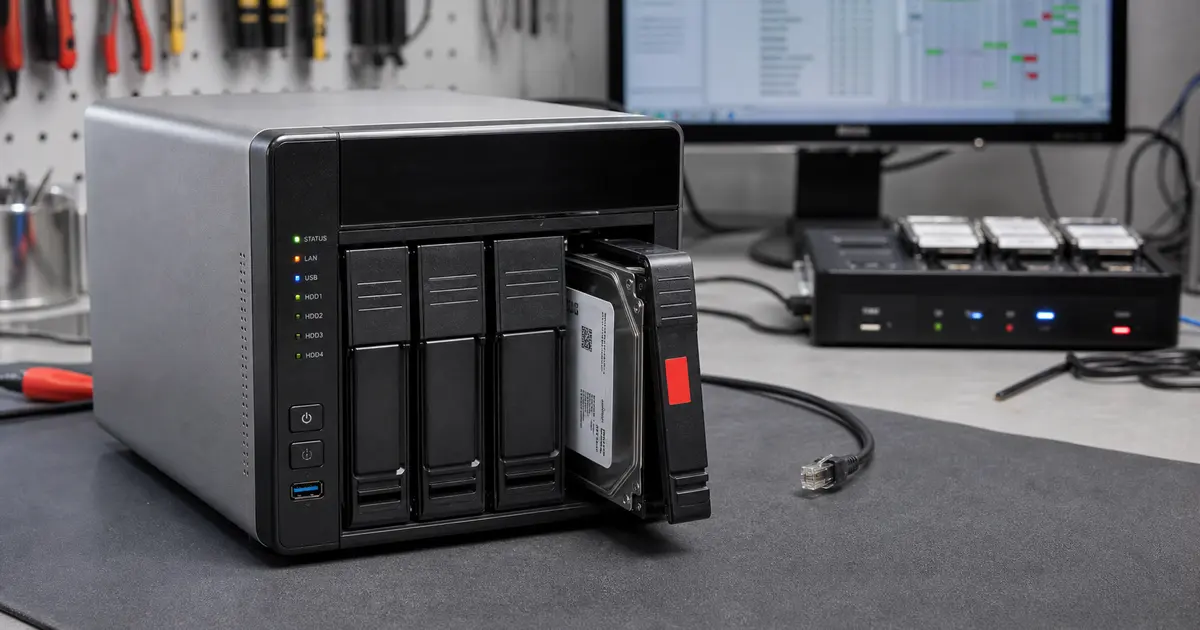
A common problem doesn’t start with head crashes, but with a single click. After a power outage, the NAS won’t mount the volume; the owner panics and clicks „Recover„ in Storage & Snapshots — and this can overwrite precisely the metadata from which data could still be reassembled. We saw the same „online repair destroys the array" principle with large arrays too: on a 20-disk RAID 6, the array was brought down by a rebuild attempt during which bad sectors surfaced on a seemingly healthy disk. With QNAP, the principle is identical — any write to a degraded array is playing with fire. That’s why, if you’re not versed in QTS architecture and working with LVM2, it’s better to entrust the device to RAID and NAS recovery specialists.
Quick orientation based on the QTS error message
When QTS displays a volume or storage pool error, it’s crucial to distinguish exactly what it’s reporting. The same administration page can conceal a completely different type of failure.
- Volume is not active / not mounted: often after a power outage or thin pool crash. Shut the NAS down; do not run Recover or Check File System.
- Storage Pool Error: could mean a damaged RAID, LVM metadata, or an issue with one physical disk. Without clones, the extent cannot be safely assessed.
- RAID Group Degraded: do not swap disks through trial and error. Label the bays and have the condition of the remaining disks evaluated before initiating a rebuild.
- Thin Volume warning: a thin volume adds a mapping layer. If this becomes corrupted, files can disappear even though the sector data still exists.
- QuTS hero / ZFS pool cannot be imported: do not attempt to import the pool repeatedly with different options. ZFS requires a consistent last transaction state.
The short version: a QNAP doesn’t just fail due to a „disk". It fails across the entire chain of mdadm, LVM2, ext4, or ZFS. That’s why the safe approach is cloning first and analysis second.
1. QNAP storage anatomy: why it’s not just „connect the disk to a PC"
The biggest trap is the mistaken idea that data is on the disks in a universal format. The reality is far more layered — and it’s this complexity that causes amateur attempts to end in total loss.
QTS: mdadm → LVM2 → Volume
The classic QTS system builds storage space in three layers:
- RAID array (mdadm): The bottom layer assembles physical disks into an array (RAID 1, 5, 6, 10). QTS uses software Linux RAID (
mdadm). If the array degrades, data is unreadable without repairing the mdadm metadata. - LVM2 (Logical Volume Manager): Running on top of the RAID, LVM2 abstracts the physical space into a Storage Pool. This is where most problems originate.
- Volume: Only here is the actual data.
- Static Volume: simple, directly on the RAID/partition, usually ext4. The safest for recovery.
- Thick Volume: on an LVM logical volume, data in ext4. Recovery requires correctly assembling the LVM.
- Thin Volume: thin-provisioning on an LVM thin pool. The user sees a 10 TB volume, but physically the data might occupy only 4 TB. This saves space but adds a fragile layer of thin-provisioning metadata. Its corruption is the most frequent cause of catastrophic data loss on QNAP.
QuTS hero: ZFS
The more modern QuTS hero line abandons mdadm + LVM and uses ZFS. It brings advantages like copy-on-write and snapshots, but has its own specifics — internal disk labeling, ZFS intent log (ZIL), and the need for pool import. Standard recovery tools for ext4 will completely fail here.
2. The most common QNAP NAS failure scenarios
In the laboratory, we see specific crash symptoms that users describe using the same words.
„Volume is not active / not mounted" after a power failure
The most treacherous error, typically with Thin Volumes. During an unexpected power outage, the QNAP doesn’t have time to correctly write the LVM thin metadata. After a reboot, the Storage Pool comes up, but the Volume remains greyed out with „Not active„. Clicking „Check File System" or „Recover" at that moment often overwrites the corrupted metadata with empty metadata, rendering the data invisible even to a lab. The same applies to corruption after an unsuccessful firmware upgrade that interrupted I/O operations.
Degraded Storage Pool and rebuild failure
The QNAP beeps and reports a faulty disk, but users often underestimate the age and wear of the other disks. Replacing a disk and starting a rebuild is a massive stress operation. During hours of reading the old disks, bad sectors (URE — Unrecoverable Read Error) often surface. If the array is RAID 5 or RAID 6 in a degraded state, a single bad sector on the remaining healthy disk means the entire array collapses — exactly as in our 20-disk RAID 6 case study. For small QNAPs with RAID 5, this risk is enormous.
Deleted shared folders and ransomware
QTS offers snapshots and a recycle bin via the @Recycle folder. If a ransomware attack occurs (e.g., DeadBolt, Qlocker), encryption changes file headers. Shutting down the NAS is critical to halt further encryption. Unencrypted remnants can then be extracted from disk clones, or older file versions can be restored from snapshots (if the attacker hasn’t deleted them).
3. What never to do with a crashed QNAP
The specific QNAP architecture demands specific caution. The following steps will most likely destroy even the last chance of recovery:
- Do not click „Recover„ or „Check File System". These functions carry out write operations to metadata on a damaged thin/thick LVM. When metadata is corrupted, they „repair" it by disconnecting or emptying the volume.
- Do not swap disks or attempt a trial-and-error rebuild. The disk’s position in the backplane is crucial for
mdadm. Swapping disks while trying to „revive" it leads to forced re-initialization and loss of superblocks. Always label disks before removing them. - Do not connect QNAP disks directly to a Windows PC. Windows doesn’t understand
mdadmRAID, LVM2, or ext4/ZFS. It will immediately offer to „Initialize Disk„ or „Format" — a single confirmation overwrites the beginning of the disks and destroys RAID metadata. - Do not run „data recovery" software (R-Studio, UFS Explorer) blindly on a live array. These tools have their place after creating disk images, not on a connected, degraded array. Scanning a degraded thin pool can cause further metadata damage.
- Do not upgrade the firmware or repeatedly restart. If the NAS boots after a crash, it’s in a fragile state. A firmware upgrade writes to the DOM (Disk-on-Module) and can reset the configuration. Repeated forced restarts deepen physical damage to faulty disks.
- Do not create a new Storage Pool. Attempting to „just set it up again" reliably overwrites LVM headers on the disks.
4. How the ITHOPE laboratory handles it
Our procedures are based on mastering all three QTS layers (mdadm, LVM2, ext4) and ZFS specifics. We work purely passively, without a single write to the original media.
Step 1: first indicative diagnostic; cloning only after agreement
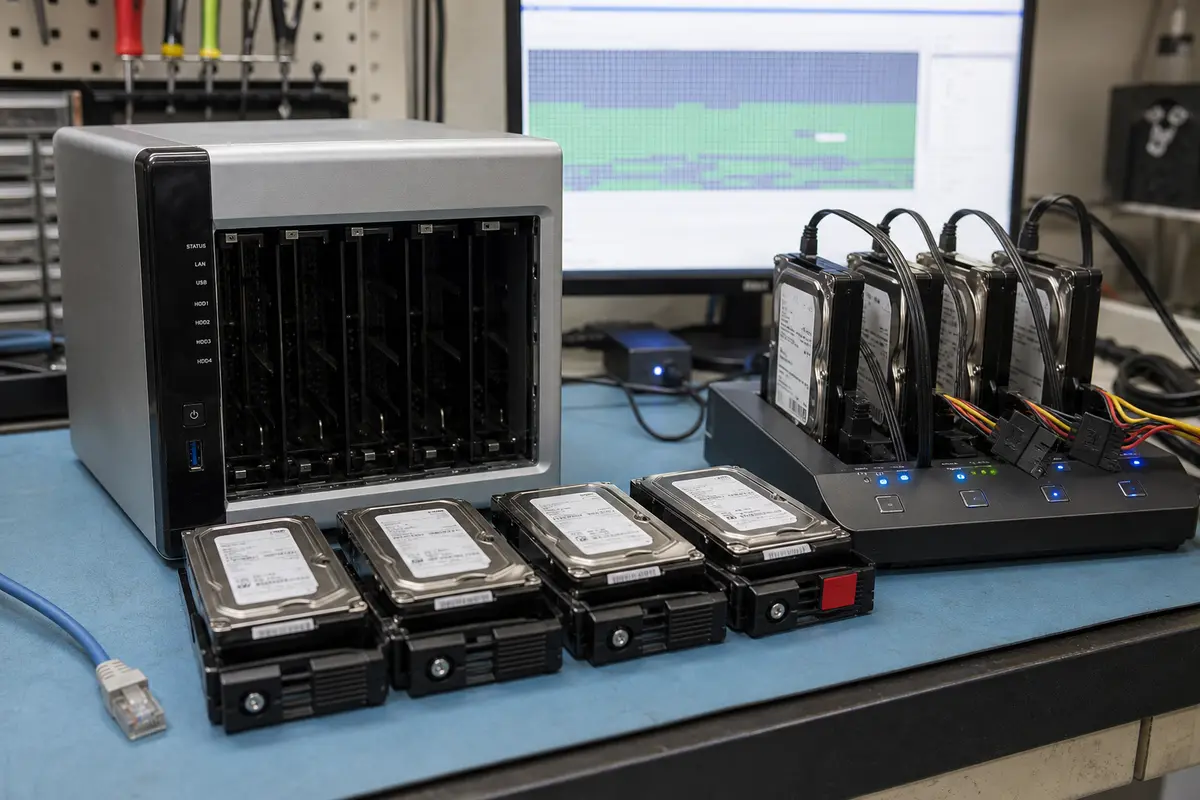
We connect every disk from the array (typically 2–8 units) to DeepSpar Disk Imager hardware cloners. These operate at the sector level and can read even disks with unstable heads or bad sectors while controlling read timeouts. Using PC-3000, we repair the internal firmware of damaged disks to access the service area (SA) and disable slow sector reallocation. The output is a set of sector-level images on our staging array (120 TB SATA RAID 10).
Step 2: virtual RAID and LVM reconstruction
From the disk images, we software-assemble the mdadm array (virtually, without the QNAP controller). We analyze superblocks and determine data offset and stripe size. We then assemble the LVM2 configuration — physical volumes (PV), volume groups (VG), and logical volumes (LV).
Step 3: thin pool metadata repair
For Thin Volumes, data on the LV is split into data blocks and a metadata map in a separate partition. We use specialized tools (thin_dump, thin_repair, thin_delta). If QTS has damaged the pool, we manually parse the metadata to restore mapping between logical and physical blocks. This step is precisely why „Recover" in QTS fails and why software tools see no files, even though the sector data on the disks still exists. For ZFS, we repair internal structures (uberblock) and rollback to the last consistent transaction group.
Step 4: data extraction
After successfully virtually mounting the healthy partition (ext4/ZFS), we copy the data to the client’s healthy medium. We verify the directory structure and the integrity of key files.
The entire process runs in a „price upfront after diagnostics" mode. You know exactly how much the recovery will cost, how long it will take, and what you’ll get back. If standard recovery proves impossible, there is no recovery charge; agreed paid targeted searches for or recovery of specifically requested deleted or other individual files remain chargeable even without a result. For your specific case, use our no-obligation consultation.
Frequently asked questions
The volume won’t mount after a power outage. Have I lost my data?
With a high probability, no. The data is still on the disk platters; only the operational LVM or thin pool metadata has become corrupted. It is critical not to power on the unit and not to attempt repair by clicking in QTS. In the lab, we extract data from clones and repair the mapping.
Can I take the disks out of the QNAP, put them in a PC, and read the data?
No. A standard Windows PC lacks drivers for Linux mdadm RAID, LVM2, and ext4. Attempting to connect them will result in a prompt to initialize the disk, which immediately destroys data. The disks must first be cloned and analyzed in a suitable environment.
Will QNAP Data Recovery software or TestDisk help?
QNAP Data Recovery is a tool for recovering deleted files from a functional volume, not for repairing a degraded RAID or broken LVM. TestDisk is useful but too simple for the complex LVM thin-provisioning structures of a QNAP. Running them on a live, half-degraded array typically brings a risk of writes and the destruction of any remaining consistency.
I had a Thin Volume. Is that worse than a Thick Volume?
Yes. A Thin Volume is much more prone to total failure during an unclean shutdown. Its metadata forms a map of where individual blocks lie on the disks. If the map becomes corrupted, the raw data appears as a jumble of random blocks with no folder structure. Reassembling them requires deep knowledge of the QTS thin metadata format.
How long does recovery take and what are the chances?
The duration depends on the extent of the damage. We resolve logical cases (damaged metadata, array crash after power outage) within a matter of days from delivery to the lab. More complex cases with physically faulty disks and extensive thin pool fragmentation take longer. For selected NAS devices, the first indicative diagnostic is normally free; with a degraded thin pool, however, the exact recovery scope cannot be promised without further cloning and offline analysis, whose terms we quote in advance.
What to do now
If your QNAP is currently reporting an error, proceed calmly:
- Disconnect the power. Hold the button until the unit shuts down, or pull the power cable.
- Remove the disks and label the positions. Using a permanent marker or sticker, immediately note the original position („Bay 1„, „Bay 2"…). Without this information, the RAID becomes an unsolvable puzzle.
- Do not run any tests. Do not attempt to start the disks in another computer or another NAS.
- Contact the lab. Call the nonstop line at +420 775 556 063 or use the no-obligation consultation.
- Hand them over to specialists. We will arrange collection, or you can deliver the disks in person to our Brno laboratory. For selected NAS devices, we provide a first indicative diagnostic normally free. We quote and agree any necessary cloning and further work in advance; the exact recoverable scope cannot be promised before recovery.
Summary in bullet points
- QNAP failure most often manifests as „Volume is not active" after LVM thin metadata corruption during a power outage.
- The QTS architecture builds on mdadm RAID + LVM2 + thin/thick/static volume (QuTS hero = ZFS) — which is why simply pulling the disks and connecting them to a PC doesn’t work.
- The biggest mistake is running „Recover„ or „Check File System" in the administration interface, which often overwrites data irreversibly.
- Recovery is performed exclusively from disk images to prevent further damage.
- The lab’s procedure: hardware cloning (DeepSpar/PC-3000), offline RAID and LVM assembly, specialized thin-provisioning metadata repair.
- For general array principles, see RAID and NAS Recovery.
Has your QNAP volume failed to mount or is it reporting „Volume is not active"? Do not click Recover — it overwrites precisely what data can be reassembled from. No-obligation consultation · Initial assessment · Contact · +420 775 556 063 (NONSTOP)
See also: RAID Array Data Recovery · Synology NAS · Server Data Recovery · RAID and NAS Recovery (service) · Case study: 20-disk RAID 6
About the author
Ing. Miroslav Jaroš is the owner and senior technician at ITHOPE s.r.o. in Brno. He has specialized in data recovery since 2008 — over 18 years, the laboratory has processed more than 2,500 cases, from individual drives to NAS and enterprise RAID arrays. The article has been professionally fact-checked (Tomáš Kopřiva) against the real-world practice of the ITHOPE laboratory.
Where to find us
ITHOPE is a company based in Brno, Czechia: we do data recovery from disks, RAID and NAS, PC and laptop service and IT for business, all in our own lab at Viniční 3587/216, 615 00 Brno.
Phone +420 775 556 063 (24/7 line). You can bring the device in person, or send it by courier (Zásilkovna, PPL).