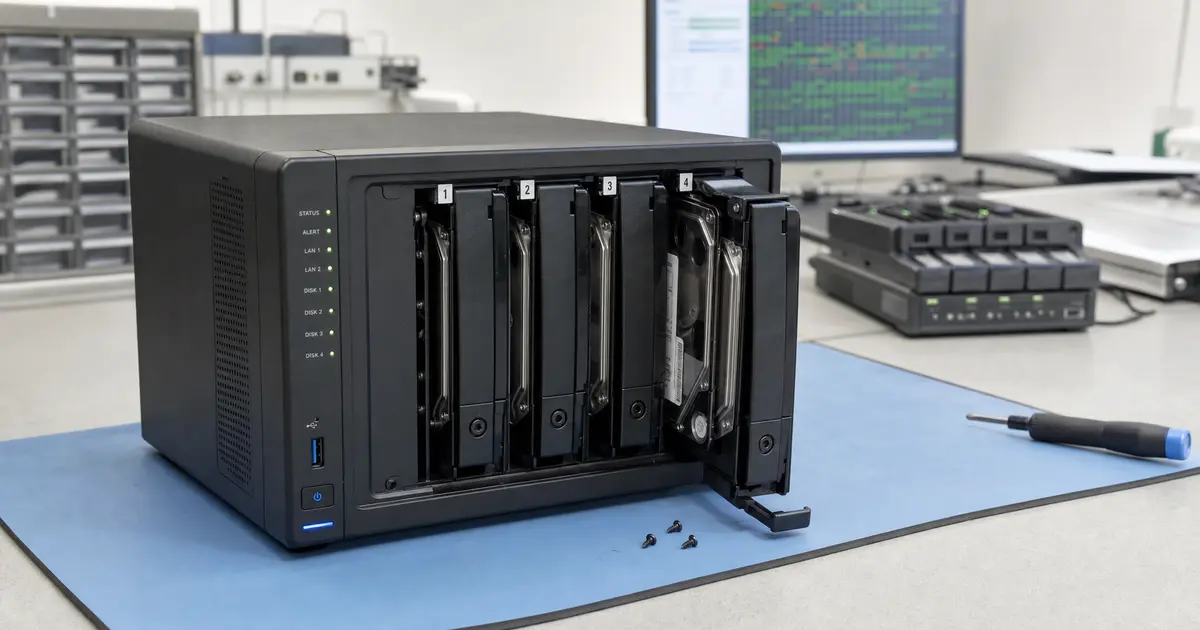
Immediate answer: A Synology NAS is not an ordinary external drive. When DSM reports „Volume crashed" or the array gets stuck in a degraded state, the first and most critical step is to power off the NAS immediately using the button. Inside the device, a complex Linux layer combining mdadm, LVM2, and a file system (btrfs or ext4) is running. Any attempt at an automatic „Repair" or repeated rebooting in this state is a high-risk operation that often overwrites remnants of damaged metadata. Safe recovery requires cloning the drives in a lab and a virtual reconstruction of the entire storage pool. The chances of rescuing data from a collapsed Synology NAS are usually very high, provided it is powered off immediately and a professional intervention is performed.
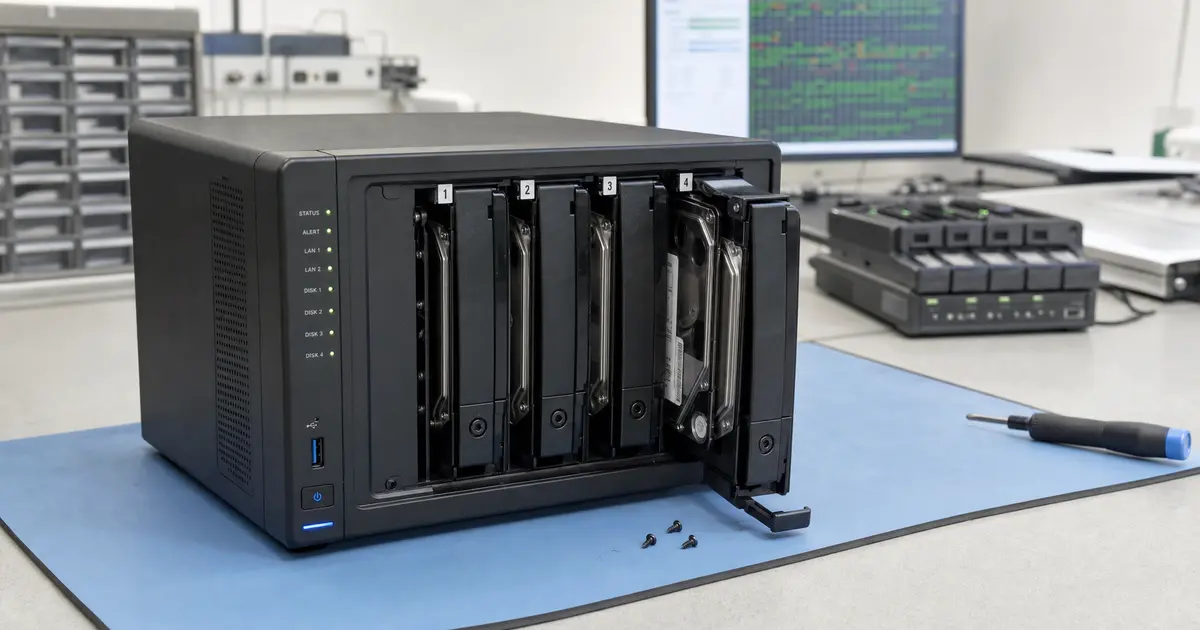
A typical scenario looks harmless: a degraded volume, a faulty disk, an attempt at a repair, and after a few hours, more read errors on a seemingly healthy disk. This syndrome is even more insidious with Synology because both home and business users often panic and click the „Manage„ or „Repair" buttons in the DSM interface, initiating processes that can overwrite the volume’s original configuration. You can bring or send the NAS to our lab in Brno-Židenice; the first indicative diagnostic is normally free for selected NAS devices, or call us first, 24/7, at +420 775 556 063.
Quick Reference Based on the DSM Message
When DSM displays an error, it is usually not a single universal fault. The specific message and whether the NAS has been writing to the array are decisive.
- Volume crashed: The volume won’t mount or is read-only. Power off the NAS; do not click on file system repairs.
- Storage Pool Degraded: One disk has dropped out, but the array is still alive. First, stop the workload and have the condition of the remaining disks assessed.
- System Partition Failed: Your data may not be affected. The DSM system partition could be damaged, while the data mdadm/LVM layers still exist.
- SHR / SHR-2 Repair: The „Repair" button is only safe when all other disks are truly readable. With older disks, this represents the greatest risk.
- Ransomware on shared folders: Disconnect the network and power off the NAS. With btrfs, snapshots can help, but only if they are not being overwritten further.
For NAS owners, the most important rule is simple: a crashed Synology must not be „treated" by clicking in DSM. Data must be rescued first; only then can you address creating a new array or returning to operation.
1. Why Synology is NOT an Ordinary RAID
The biggest misconception during a DIY recovery attempt is the idea that SHR (Synology Hybrid RAID) is a standard hardware array. In reality, it is a sophisticated Linux storage stack. If you connect the disks to a regular Windows computer or try to read them with tools that only account for a simple RAID array, you will only see a jumble of nonsensical partitions.
SHR / SHR-2: Layered Architecture
At its core, Synology Hybrid RAID is a combination of three technologies. The bottom layer is a software mdadm (Linux mdraid), which handles redundancy (RAID 1, 5, or 6) across the disks. On top of that runs LVM2 (Logical Volume Manager), which creates flexible storage pools and logical volumes from the md device. The top layer is the file system itself, typically btrfs (on newer models) or classic ext4. This layering means that data recovery requires a step-by-step manual assembly of all layers in a lab. Standard „RAID recovery" tools fail here because they cannot correctly interpret LVM metadata, especially the specific properties of btrfs.
The DSM System Partition
Another Synology peculiarity is the DSM (DiskStation Manager) operating system. Its system partition is mirrored (RAID 1) across all disks in the NAS. If the first system partition fails, the NAS will not boot. Damage to the RAID or the failure of multiple disks may, therefore, mean not only the loss of shared folders but also the complete unavailability of the system.
2. Typical Failure Scenarios and Real Risks
The symptoms vary, but the cause is often the same — a cascading failure triggered by ignoring a degraded state.
Volume crashed / Degraded
DSM stops mounting the storage pool and reports a volume crash. This often happens after a power outage corrupts btrfs metadata or after a single disk fails within the array’s tolerance. The risk is specific for Synology units with btrfs: btrfs uses checksums (CRC), so upon detecting an error, the file system switches to read-only mode to prevent further damage.
Stuck Repair
This is the most common scenario that sends needlessly destroyed arrays to the lab. The user replaces the faulty disk and clicks „Repair„ in DSM. The NAS starts reading intensively from all remaining disks. If one of the older disks has a latent bad sector (URE) that hasn’t been touched yet, the process gets stuck or crashes. The result is often damage to the mdadm superblock on a „healthy" disk and the collapse of the entire array. Our real case with a 20-disk array, where a rebuild brought down a RAID 6, describes this exact principle.
Unsuccessful DSM Update
A firmware upgrade is a write operation to a protected area. If the power is interrupted during the update, or the process crashes due to incompatible RAM, the RAID superblocks on the system partitions can get damaged. The NAS then reports „System Partition Failed" upon startup or gets stuck in a reboot loop.
Deleted/Encrypted Shared Folder and Ransomware
A folder accidentally deleted on btrfs has a decent chance of recovery thanks to snapshots — provided the user does not overwrite the data with new writes. In the event of a ransomware attack via mapped network drives, it is critical to power off the array immediately to stop the encryption. Searching for „Synology decryptors" on the internet and writing scripts to a damaged volume usually destroys the last chance of a snapshot recovery.
3. What NOT to Do on a Synology NAS
The line between a preventable crash and total data loss is thin. The following warnings apply to Synology owners without exception:
- Do not click „Repair„ / „Manage" in a degraded state. This is the most common trigger for a total collapse. A rebuild requires 100% readability of all remaining disks. If a single one contains just one bad sector, the rebuild will fail and overwrite the array configuration.
- Do not attempt recovery by installing „RAID recovery" software on the live array. Never write to a Synology. Utilities run from a user account cannot assemble the layered structure and often try to „fix„ the array by overwriting the „bad" superblock — along with its metadata.
- Do not upgrade DSM firmware and do not perform a Factory reset. Attempting to „fix" a volume crash by reinstalling the system is fatal. A reset overwrites the RAID headers and, from a data perspective, causes destruction comparable to a format.
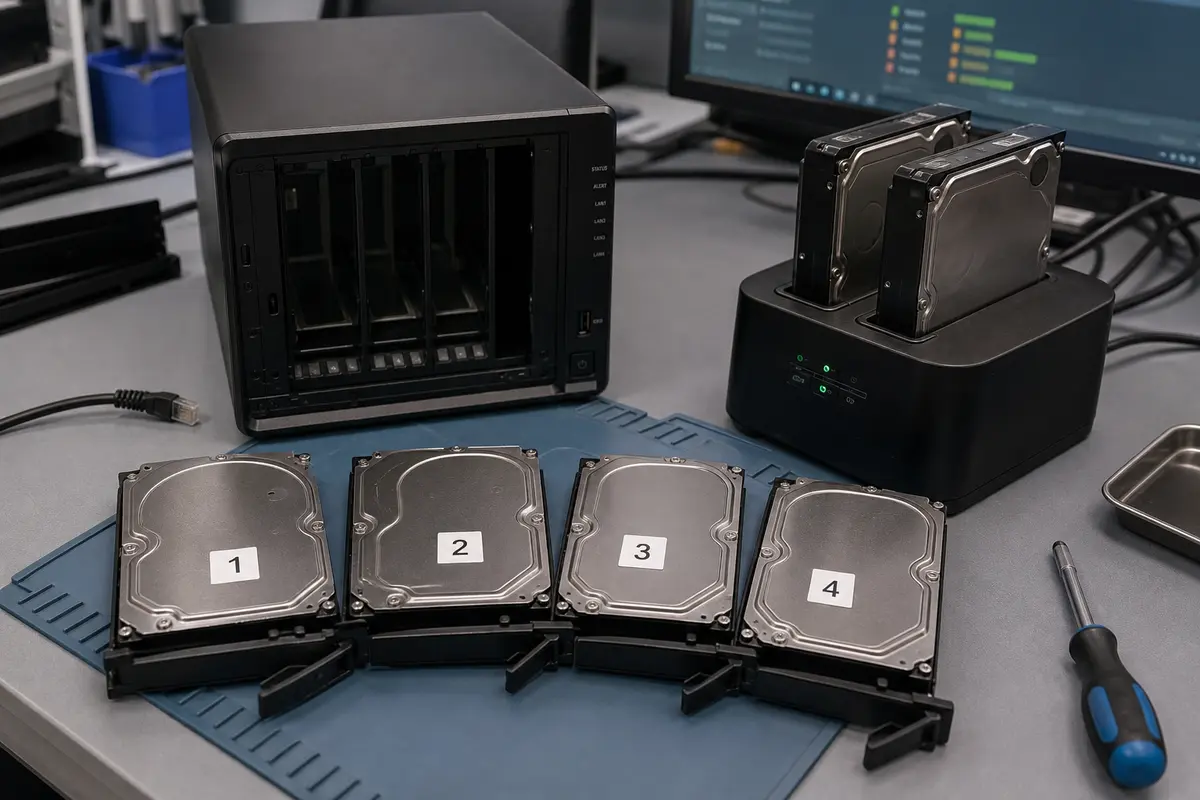
- Do not remove and swap disks by trial and error. Synology determines the order in the mdadm array based on physical slots. If you pull out the disks, mix them up, and try to plug them back in without having them precisely labeled (with their slot numbers 1, 2, 3…), the array becomes impossible to reassemble.
4. How the Lab Handles Data Recovery
The professional approach is based on never working with the original disks. The entire process takes place exclusively offline, using copies.
Initial Cloning (sector-level imaging)
Following diagnostics where we check the condition of the electronics and mechanics, we create complete sector-level images of all disks. We use hardware cloning stations like DeepSpar Disk Imager and PC-3000 for this. These tools can intelligently read disks with bad sectors without losing data context. The work is done on clean copies, with the original disks kept aside and untouched.
Virtual Reconstruction of the Storage Pool
We then assemble the individual layers from the clones in a virtual environment. First, we search for the correct mdadm array assembly — here, it’s key to know not just the metadata, but also the correct stripe offset and disk order according to the Synology slots. Once the md array is assembled, we activate LVM2 and mount the logical volumes.
File System Processing
The final and often most complex phase is the file system repair. For btrfs, we perform checks and extraction using low-level tools working with the metadata tree structure (btrfs restore). A significant advantage is that we try to extract not only current data but also older file versions from btrfs snapshots, provided they have not been destroyed. We extract the result and verify it on our staging storage (120 TB SATA RAID 10).
The general procedure for all array types is detailed in the article Data Recovery from a RAID Array and on the service page for RAID and NAS Recovery.
Frequently Asked Questions
I lost one disk in SHR. Will I lose data?
If the disk status light is orange and DSM reports „Degraded," data is still online, but the array is without any tolerance — a failure of another disk means an immediate volume crash. Back up critical data immediately (if the disk load allows), power off the NAS, and call for advice. With SHR-2, you have a tolerance of two disks.
Can I take the disks out and put them into another Synology?
Usually yes, but with caveats. The new NAS must support the same or a newer version of DSM and CPU architecture. However, the transfer is risky if the array is already damaged: the NAS will try to automatically mount the array during boot and may start a file system repair that overwrites data. It is safer to have the array cloned in a lab.
Will Synology Assistant or data recovery software help?
Not for a seriously damaged array. Synology Assistant is used for basic network detection, not data recovery. Standard Windows or Linux programs cannot see below the LVM layer and cannot reconstruct SHR. Attempts to scan with such tools lead to lost time and often overwrite important metadata on the disks.
It was ransomware. Can it be salvaged?
Yes, the chance is high. Synology with btrfs automatically creates shared folder snapshots. As long as they haven’t been overwritten, the ransomware only encrypts the current version of the data — lab procedures can extract data from undamaged snapshots. The NAS must be powered off immediately to stop the encryption from continuing.
I’m seeing „System Partition Failed". Is my data lost?
Not necessarily. This message means the mirrored system partition (RAID 1 across the disks) is damaged. The data RAID array (md) and LVM volumes can still be intact — you just can’t access them through the standard path without a functioning system. The data can be extracted from them in a lab.
How much does it cost and how long does it take?
For selected NAS devices, the first indicative diagnostic is normally free. We quote further steps and the price in advance; the exact recoverable scope may emerge only during recovery. If standard recovery fails, there is no recovery charge. Agreed targeted searches for or recovery of specifically requested files remain payable even without a result. The turnaround time depends on the capacity and condition of the disks, typically a matter of days. An extensive reconstruction of a 160TB array took 11 days and ended with 100% success: 20-disk RAID 6.
What to Do Now
- Disconnect the network cable. This will prevent user access and the potential spread of ransomware.
- Hold the power button until the NAS turns off. Do not let the array continue running in a degraded state, and do not click „Shutdown" in DSM (this may trigger a synchronization attempt).
- Do not remove the disks. If it’s necessary for transport, label all disks precisely according to their slot numbers (Disk 1, Disk 2…), so we can correctly reassemble the RAID.
- Do not let a regular IT technician without Synology experience work on it. Every minute spent trying to revive the system directly on your hardware reduces the chances of recovery.
- Contact our lab. Use a no-obligation consultation or call our NONSTOP line at +420 775 556 063 and describe the NAS model, the number of disks, and what happened.
Summary at a Glance
- Synology NAS uses a complex storage stack (mdadm + LVM2 + btrfs/ext4) that cannot be restored using common software tools for Windows.
- The „Repair" button in DSM is destructive when bad sectors are present — it triggers a load that can irreversibly damage the remaining disks and array metadata.
- Never write new data to a damaged NAS, do not install recovery utilities, and do not perform a factory reset.
- When physically removing disks, it is critical to label their positions (slot 1, 2, 3…), otherwise virtual RAID reconstruction is extremely complicated.
- Data from a ransomware attack can often be rescued from intact btrfs snapshots if the NAS was disconnected in time.
- We work exclusively with sector-level clones of your disks; the original media remain untouched during recovery.
Is your Synology reporting „Volume crashed„ or a degraded array? Do not click „Repair" — it will overwrite the very structures from which data can be recovered. No-obligation consultation · Initial assessment · Contact · +420 775 556 063 (NONSTOP)
See also: Data Recovery from a RAID Array · QNAP NAS · Server Data Recovery · RAID and NAS Recovery (service) · Case study: 20-disk RAID 6
About the Author
Ing. Miroslav Jaroš is the owner and senior technician at ITHOPE s.r.o. in Brno. He has been dedicated to data recovery since 2008 — over 18 years, the lab has processed more than 2,500 cases, from individual drives to NAS and enterprise RAID arrays. The article has undergone expert fact-checking (Tomáš Kopřiva) against the real-world practices of the ITHOPE lab.
Where to find us
ITHOPE is a company based in Brno, Czechia: we do data recovery from disks, RAID and NAS, PC and laptop service and IT for business, all in our own lab at Viniční 3587/216, 615 00 Brno.
Phone +420 775 556 063 (24/7 line). You can bring the device in person, or send it by courier (Zásilkovna, PPL).