The short answer: If your RAID or NAS reports degraded, critical, failed disk, or an incomplete rebuild and the data matters, do not blindly start another rebuild. Stop all writes, document the disk order, take screenshots of the messages, and shut the array down safely. Professional recovery does not begin by rebuilding the array on the original disks. It starts with sector-by-sector cloning of every disk, followed by offline reconstruction from the copies—the same approach we use for RAID data recovery, including Synology and QNAP systems.
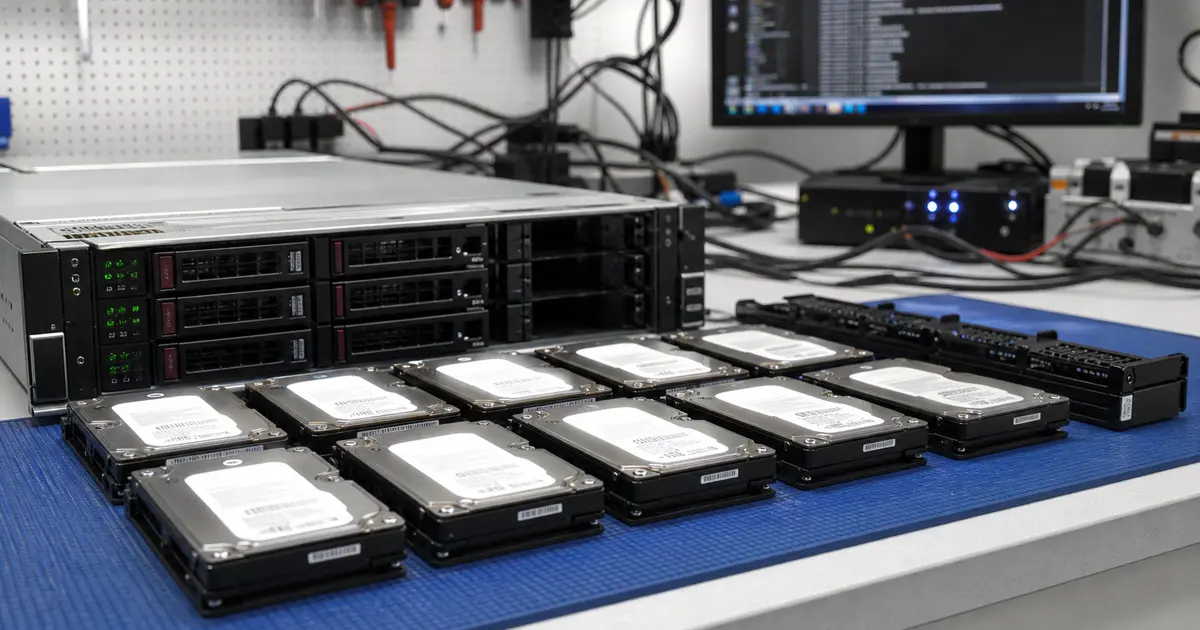
One click. 160 TB of capacity. Four years of company projects. And an administrative decision that looked routine at first: replace the failed disk and start a rebuild.
That is exactly how a 20-disk RAID 6 array from an engineering firm in Brno reached us. The NAS stored CAD documentation, historical projects, and some operational backups. RAID 6 uses dual parity and should therefore survive the failure of two disks. But „should„ does not mean „it is safe to rebuild an aging array without checking it first."
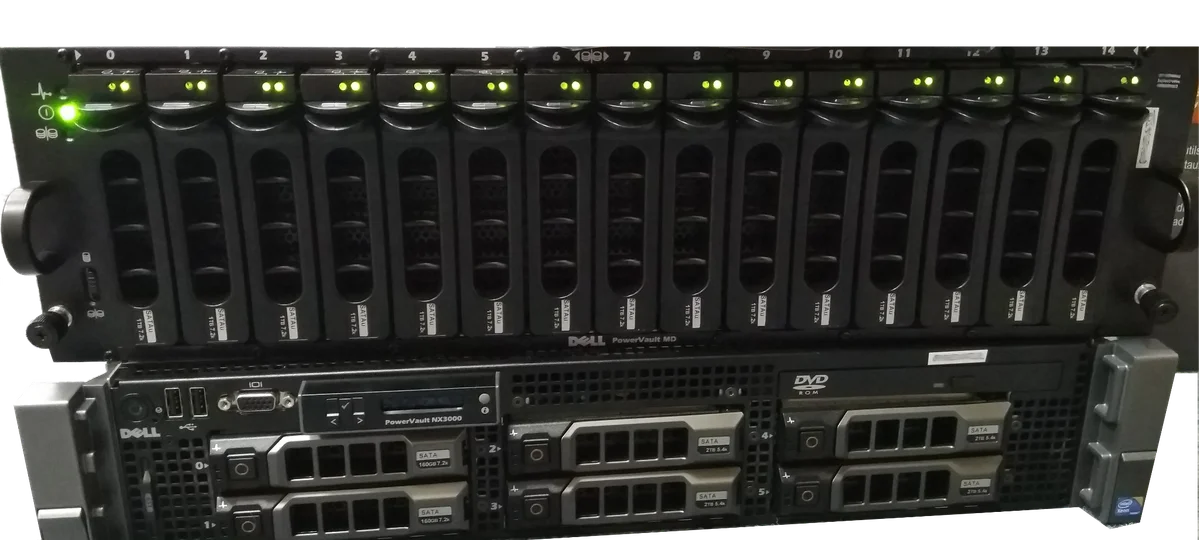
What degraded RAID means
A degraded status does not mean the data is lost. It means the RAID has lost some of its redundancy and is operating in a vulnerable state.
- RAID 1: one mirrored disk is missing, while the data remains on the other.
- RAID 5: one disk is missing; another failure may result in the loss of the array.
- RAID 6: one or two disks are missing, but after two failures there is no margin for another error.
- RAID 10: the outcome depends on which mirror pair contains the failed disk.
The biggest mistake is treating a degraded state as a reason to start an immediate rebuild at any cost. That may be reasonable for a small, new array with a recent backup. For a four-year-old NAS holding tens of terabytes without a verified offsite backup, it is a gamble.
When not to attempt it yourself and what we do
A DIY attempt is particularly dangerous when:
- the array reports errors on another disk (read error, timeout, another failed disk)—a rebuild reads the entire surface and may push a weak disk over the edge,
- the NAS does not recognize a disk or volume after a restart, or offers initialization or „repair"—these options write metadata used to assemble the array,
- a disk in the array is clicking, the system suffered a power surge, or the NAS was dropped—physically damaged members must not be subjected to further stress.
In these cases, shut the array down safely, record the disk order, and bring or send it to us for RAID and NAS data recovery. The process has three steps:
- Intake — bring the disks or the complete NAS to our laboratory in Brno-Židenice, or ship them to us, with the bay order clearly marked and a description of what happened in the administration interface.
- Diagnostics — we assess the condition of every disk and determine the array geometry. A simple initial RAID or NAS assessment may be free; analysis of multiple disks, array reconstruction, deleted data, or metadata may incur a fee, which we will disclose before beginning any paid work.
- Quote, then recovery — you receive the recovery price in advance. Only after you approve it do we clone the disks and reconstruct the array from the copies; the original disks are not subjected to further stress.
Is it urgent? Call our 24/7 line at +420 775 556 063.
Timeline of the failure
In this case, the system was an enterprise NAS with 20 disks in RAID 6. The array had been running continuously for several years. Users stored both active projects and archives on it.
Monday morning: disk 7 failed. The array entered a degraded state, but the data remained accessible. The administrator ordered a replacement disk and planned to replace it that evening.
Tuesday morning: before the replacement disk arrived, disk 12 reported a critical error. The RAID 6 was still theoretically readable, but it had no remaining tolerance for another failure.
Tuesday afternoon: the replacement disk arrived and a rebuild was started. The controller began reading the entire surface of the remaining disks, recalculating parity, and writing a new copy of the missing data.
After thirty hours: the rebuild stopped at bad sectors on disk 5. That disk had previously appeared healthy. The intensive reading performed during the rebuild exposed latent errors that had not been visible during normal operation.
Wednesday morning: the array was offline and could not be mounted using standard methods.
This is precisely the point at which another rebuild attempt, „force online," a change in disk order, or initialization of a new array can destroy data that might still be recoverable.
Why a rebuild can finish off an aging array
A rebuild does not repair data. It is an enormous stress test for every remaining disk.
During normal operation, a NAS reads only active files and metadata. During a rebuild, the controller must scan a huge portion of every disk’s surface, often continuously for hours or days. This is when aging disks may reveal:
- latent bad sectors,
- read timeouts,
- weak heads,
- deteriorating SMART values,
- power supply or drive-bay cooling problems,
- parity inconsistencies caused by previous outages.
The larger the disks, the longer the rebuild and the wider the risk window. The problem is even more severe with RAID 5, where one additional error during a rebuild may be fatal. RAID 6 offers more protection, but it is not unlimited. If two disks are already gone and a third begins returning errors, dual parity is no longer enough.
What should happen before a rebuild
A safer procedure for an important degraded RAID looks different:
- Stop all writes. Ideally, disconnect shared folders, disable services, and stop virtual machines and databases.
- Document the state. Take screenshots of the NAS administration interface and record the logs, disk order, serial numbers, slots, RAID type, stripe size, and filesystem type.
- Check SMART data for every disk. Do not inspect only the disk identified as faulty by the NAS.
- Verify the backup. Do not assume it „should be somewhere." Open the latest backup and check the data.
- For critical data, clone the disks before rebuilding. Read each original disk sector by sector onto another medium. Perform the rebuild only from copies or after the risk has been properly assessed.
If you are unsure, the safest course is to avoid writing anything else to the disks. This applies to Synology, QNAP, TrueNAS, Linux mdadm, ZFS, and Dell/HP/LSI hardware controllers.
How we handled the case in our laboratory
After receiving the array, we first labeled the disks according to their original positions. Disk order is critical in RAID recovery. The disks must not be mixed up, automatic initialization must not be allowed to run, and any „repair" option in the administration interface must be declined.
The first phase involved sector-by-sector cloning of every disk. Faulty disks require a different reading strategy from healthy ones: stable areas are read first, followed by more difficult regions, with reverse-direction reading and repeated attempts on weak sectors where necessary. The goal is not a clean-looking SMART report. The goal is to recover as many readable sectors as possible before the disk deteriorates further.
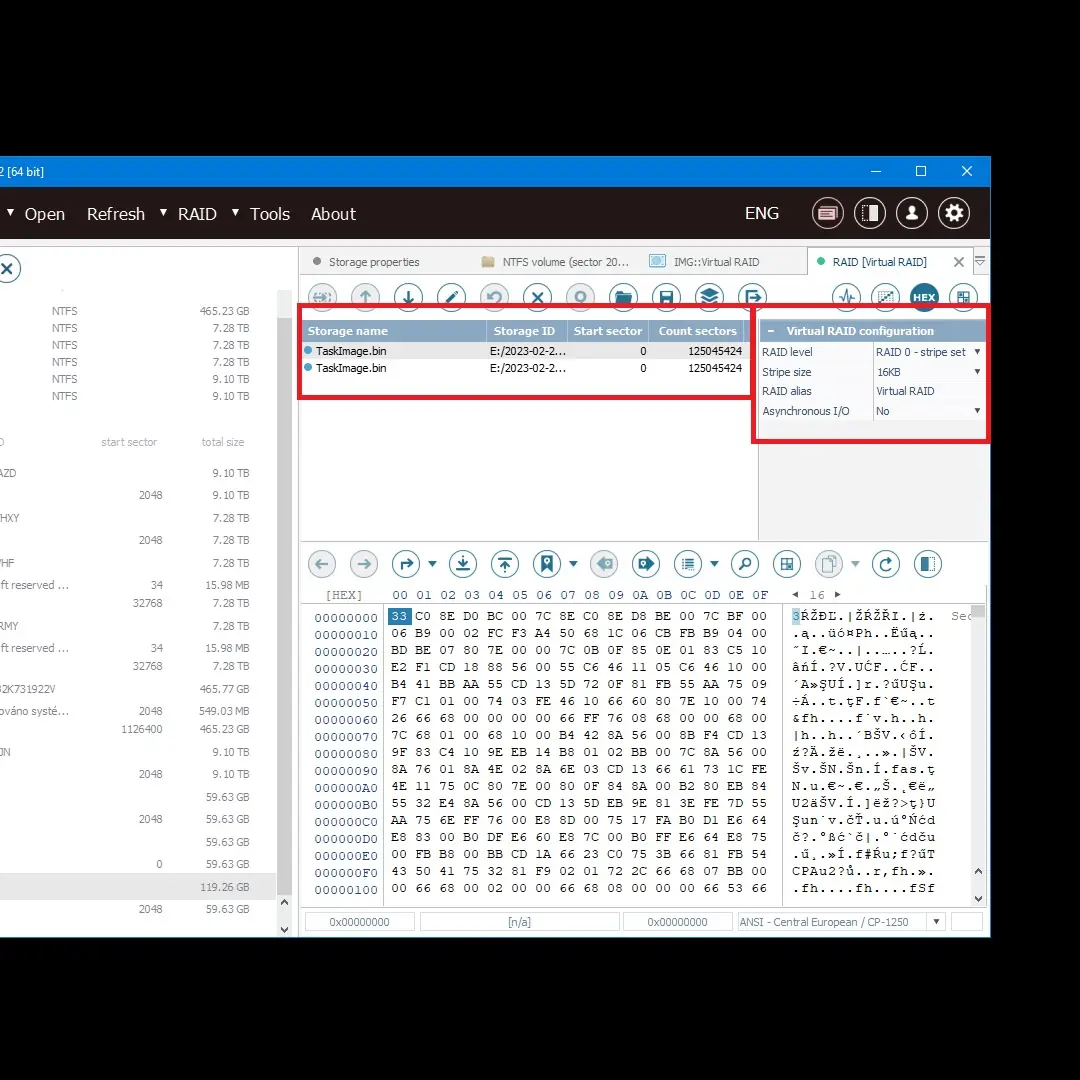
The second phase was offline analysis. With large arrays, knowing that „it was RAID 6" is not enough. We need the exact geometry:
- disk order,
- stripe size,
- parity rotation,
- start offset,
- any vendor-specific NAS metadata,
- the condition of the filesystem on top of the array.
Only then is a virtual array assembled from the clones. At this stage, we no longer want to place any load on the originals. If the reconstruction does not work on the first attempt, we adjust the parameters applied to the copies, not the client’s disks.
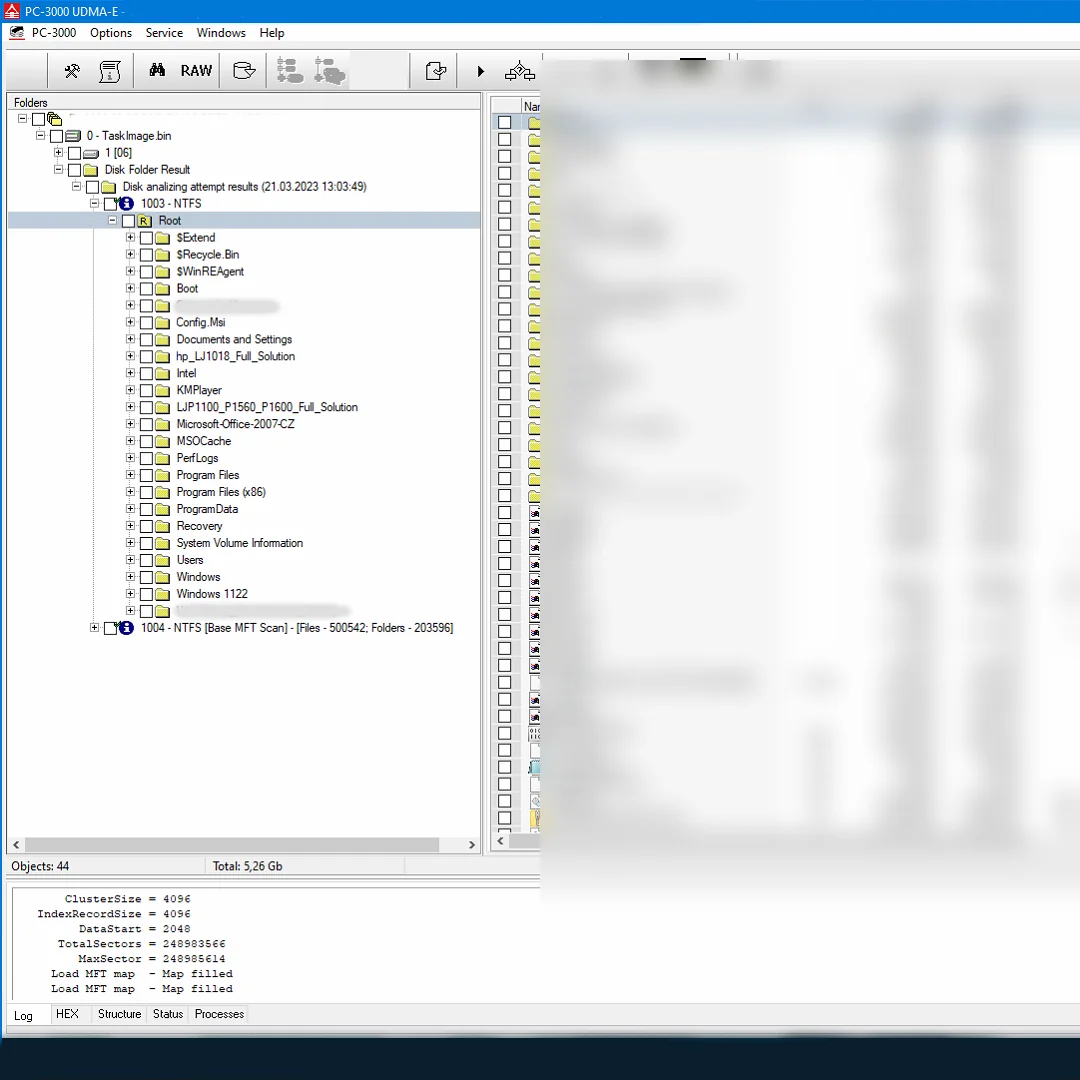
In this case, we recovered 100% of the client’s data. The client verified randomly selected CAD projects spanning several years, reference files, and archive folders. We extracted the current Priority A projects before the rest of the array so the company could resume work while the full reconstruction continued.
A more detailed technical case study is available on the recovery of a 20-disk RAID 6 NAS page.
What to do when your RAID is reporting an error
If you are reading this while your NAS is beeping or its administration interface is glowing red:
- Do not restart the rebuild repeatedly. One failed rebuild is warning enough.
- Do not create a new array on the same disks. Initialization may overwrite metadata.
- Do not change the disk order. Photograph the bays and record the slot numbers and serial numbers.
- Prevent all writes to the array. Every new file makes the filesystem state more complicated.
- Do not combine instructions from different forum posts. mdadm, ZFS, Synology SHR, QNAP LVM, and hardware RAID use different metadata structures.
- If a backup exists, verify it. Opening the files is better than merely seeing that the backup job „completed."
If the array contains data you cannot afford to lose, stop before performing any operation that writes to the disks. Data recovery has the highest chance of success while the original state has not yet been overwritten.
RAID is not a backup
RAID provides availability. A backup provides a way to restore data after a disaster.
RAID can keep you running when one disk fails and you need to continue working. It will not protect you from a deleted folder, ransomware, administrator error, a faulty controller, fire, flooding, or a failed rebuild. For business data, it therefore makes sense to combine:
- RAID/NAS for operational availability,
- regular scrubbing or patrol reads,
- SMART and temperature monitoring,
- offline or offsite backups,
- restore testing for at least the critical folders.
If your NAS is the only place where the data exists, it is not a backup. It is a single copy in a more expensive box.
Quick FAQ
My Synology/QNAP is degraded. Should I insert a new disk?
Check the condition of every disk and verify the backup first. If the data is important and the array is older, it is safer to consult a specialist before starting a rebuild. Inserting a disk often triggers an automatic process that cannot easily be reversed.
The rebuild is already running. Should I stop it?
It depends on the array’s condition. If the rebuild is progressing without errors and you have a verified backup, it may be allowed to finish. If read errors, timeouts, another failed disk, or unusual sounds appear, the additional stress may cause further damage. In that situation, it is better to stop all writes, document the current state, and arrange disk cloning.
Can ddrescue help at home?
For a single disk, ddrescue can be useful if you know what you are doing and are reading the data onto another medium. With RAID, however, cloning „something" is not enough. You need the correct disk order, offset, parity, and filesystem. An incorrect procedure can overwrite metadata or worsen the condition of the disks.
How much does RAID data recovery cost?
The cost depends on the number and capacity of the disks, the RAID type, the condition of the media, and the amount of manual reconstruction required. A simple initial RAID/NAS assessment may be free; analysis of multiple disks, array reconstruction, deleted data, or metadata may incur a fee. We disclose the price before beginning any paid work, and you receive an estimate before the recovery itself. The best place to start is with a RAID data recovery enquiry or our contact form.
If you have a degraded RAID, a failed rebuild, or an offline NAS, do not attempt further repairs blindly. Call +420 775 556 063, email zachranadat@ithope.cz, or send us a description through the contact form. Our laboratory is in Brno-Židenice, and we handle RAID/NAS cases from across the Czech Republic.
Where to find us
ITHOPE is a company based in Brno, Czechia: we do data recovery from disks, RAID and NAS, PC and laptop service and IT for business, all in our own lab at Viniční 3587/216, 615 00 Brno.
Phone +420 775 556 063 (24/7 line). You can bring the device in person, or send it by courier (Zásilkovna, PPL).