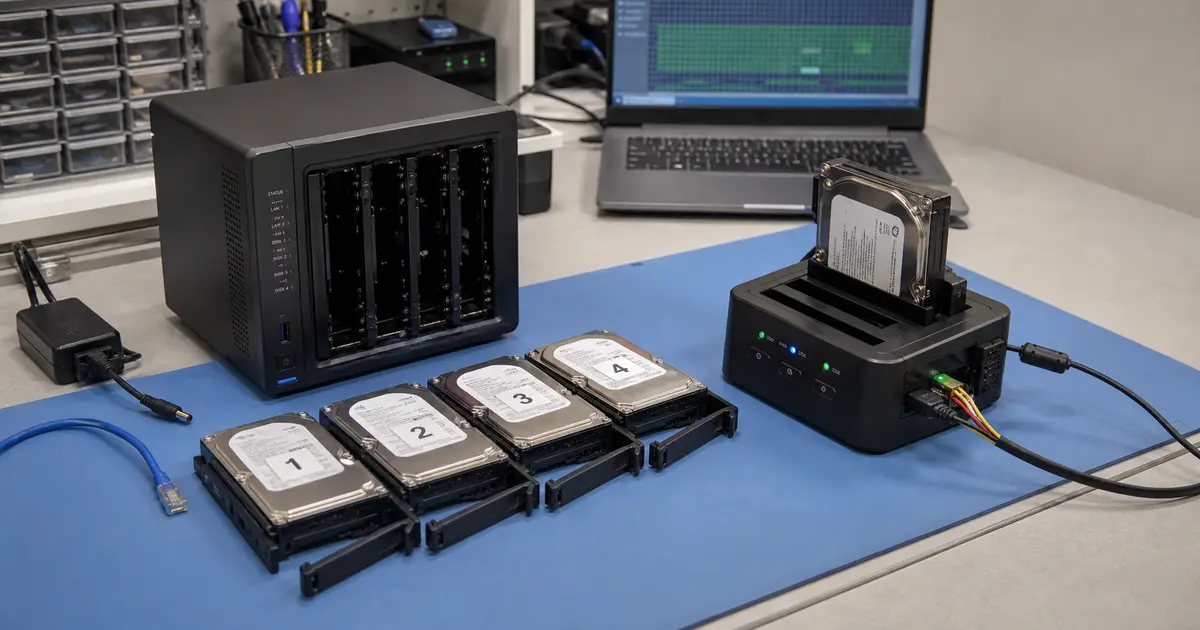
The short answer: If you had a single-disk NAS and the disk is mechanically healthy, data can often be retrieved by connecting it to Linux — but always work in read-only mode, ideally from a clone of the disk made beforehand. Never initialise or format a NAS disk connected to Windows; the system does not understand it, and the initialisation prompt is a trap that will destroy your data. If it is a multi-disk NAS with RAID/SHR, the array is degraded, or the disk is clicking, switch the device off immediately and contact a lab — any attempt to rebuild or repair on site can lead to permanent data loss.
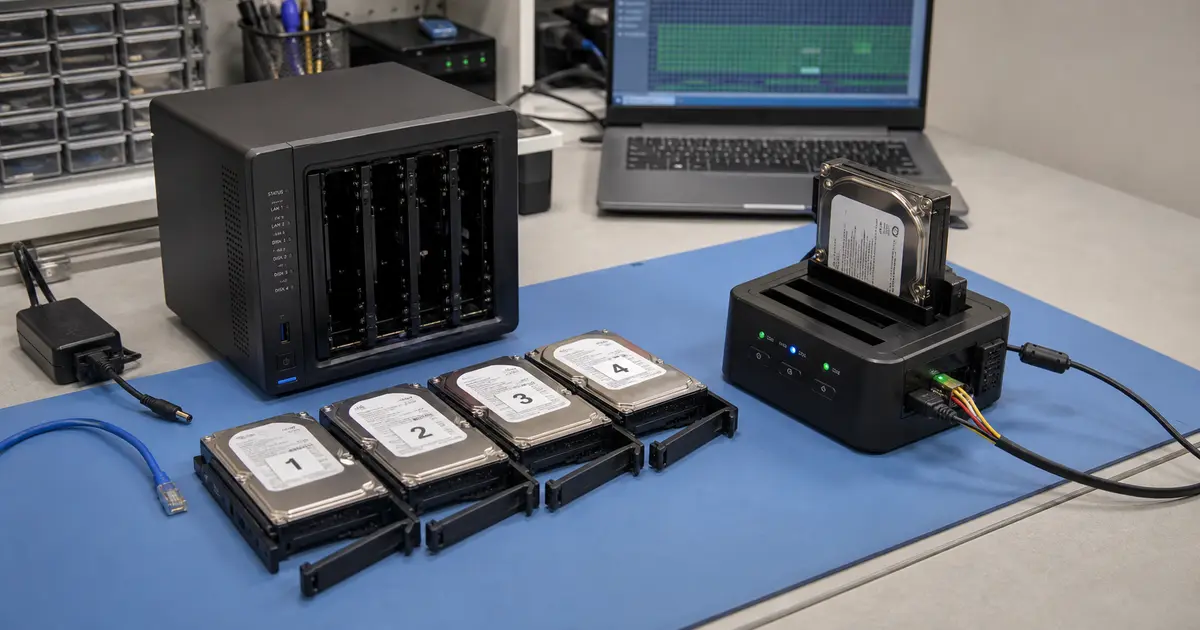
A classic scenario: your NAS has stopped lighting up, failed to boot after a power cut, or the administration interface reports a volume error. Your first instinct is to pull the drives out of the box and shove them into a dock connected to your computer. When you do that, Windows either sees nothing or hopefully offers to initialise the disk. At that moment you are at a critical crossroads — one click and your data is gone forever. Let us explain, step by step, what has actually happened to your data and how to get it out safely. If you do not want to risk doing this yourself, bring or send the NAS and its drives to our lab in Brno-Židenice; the first indicative diagnostic is normally free for selected NAS devices, or call us first, 24/7, at +420 775 556 063.
First, establish what you actually have
Before you try anything, find out two essential things: your NAS model and the number of bays (drive slots). This information will indicate how complex the situation you are facing is.
A single-disk NAS (one bay, or two bays without a shared volume) is the simpler case. The data resides on a single disk, which can, with a bit of luck, be read. A multi-disk NAS with RAID (Synology Hybrid RAID, classic RAID 5/6, QNAP storage pools) means your files are spread across several physical drives. A single disk on its own makes no sense — it is just a fragment of a larger jigsaw.
Why Windows cannot read a NAS disk
Windows understands the NTFS, FAT, or exFAT file systems. However, manufacturers such as Synology, QNAP, WD, or Buffalo use Linux file systems inside the NAS — typically ext4 or btrfs. In multi-disk devices, there is an additional software layer underneath: mdadm (Linux RAID) and often LVM (Logical Volume Manager). Synology adds its own SHR (Synology Hybrid RAID) technology, which combines mdadm and LVM to make drives of different sizes work as efficiently as possible.
When you connect a disk formatted this way to Windows, the system simply does not know what to do with it. It sees an „uninitialised„ or „RAW" partition and, in good faith, offers to fix it. Clicking „Initialise Disk„ or „Format" irreversibly overwrites the partition metadata. The data is still physically on the platters, but without the map, you can no longer get to it.
Scenario 1: The NAS died, the disks are healthy (single-disk)
This is a situation where you can attempt a DIY recovery, but only if the disk is not mechanically knocking, clicking, or reporting SMART errors. The procedure must be strictly defensive:
- Create a clone of the disk — this is absolutely fundamental. Connect the disk to a computer (via SATA, not a USB adapter, which can mask errors) and use a tool such as
ddrescueto create a sector-by-sector copy of the entire disk. Perform all further attempts only on this clone; lock the original away in a drawer. - Boot a Linux live USB (e.g. Ubuntu) and connect the cloned disk. Linux will recognise ext4 or btrfs without any problems, and the data should be normally readable.
- If you would rather avoid Linux, there is specialist software for Windows (e.g. UFS Explorer) that can read Linux file systems — again, however, work exclusively on the clone.
When DIY is acceptable and when it is not: If the disk is healthy in terms of SMART and it is a simple ext4 without LVM, there is a chance of success at home. As soon as the disk rattles, clicks, reports bad sectors, or you discover it is RAID (mdadm reports „no superblock detected"), stop immediately and leave it to a lab.
Scenario 2: Multi-disk NAS (RAID/SHR) — why data cannot „simply be pulled out"
If your NAS contained two or more disks in a single volume, the data is distributed across the disks — using striping and parity techniques (RAID 5/6, SHR). Each disk carries only a piece of the information. To assemble complete files, you need to reconstruct the entire array in software, for which you must know:
- The correct order of the disks — swapping bays 2 and 3 means you will assemble the array incorrectly and the data will be corrupted.
- Stripe size and metadata offset — parameters that vary from model to model.
- RAID type and LVM configuration — SHR from Synology or a storage pool from QNAP add another layer of abstraction on top of standard mdadm.
A separate chapter is a degraded array — a state where one disk has failed, but the data is still complete thanks to parity. An inexperienced user instinctively replaces the faulty disk with a new one and clicks „Rebuild." This is the worst possible mistake. A rebuild places extraordinary load on the remaining, equally old and worn disks. During the several-hour process, a second disk very often fails — and with RAID 5 or SHR-1, that means total loss of the entire array with no possibility of recovery. You can find more about the specifics on the RAID and NAS data recovery page and in the article on recovering data from a RAID array.
Scenario 3: NAS failed to boot after a power cut (volume crashed)
A sudden loss of power is a killer for a NAS. During an outage, ongoing writes cannot be completed, which can corrupt the file system journal (btrfs/ext4) or RAID array metadata. The result is a „Volume crashed„ or „Storage pool degraded" message.
The typical reaction is to restart the NAS several times and hope it catches. Every further attempt to boot is risky — during startup, the system tries to perform a journal replay, and if it encounters inconsistency, it can make the situation even worse. The procedure for recovering data from Synology is detailed in the article on Synology NAS data recovery, and for QNAP in QNAP NAS data recovery.
What you should NEVER do
- Never click „Initialise Disk„ or „Format" in Windows. This will overwrite the partition metadata.
- Never click „Repair" in the NAS administration interface — this often leads to overwriting corrupted metadata with empty data.
- Never run a rebuild on a degraded array — you will place extreme load on the remaining disks and risk total collapse.
- Never run chkdsk — Windows does not understand ext4/btrfs; the „repair" will damage the data.
- Never dismantle the drives — hard drive mechanics require a cleanroom; dismantling in a dusty environment will destroy the platter surface.
- Never repeatedly restart a clicking disk — every time the heads sweep over the damaged surface, the groove widens and the data becomes harder to recover.
- Never mix up the order of the disks — when removing them from the NAS, label each disk with its bay number.
How data extraction from a NAS works in a lab
Professional data recovery from a NAS follows a precise procedure that eliminates the risk of further losses:
- Intake and diagnostics — disks are labelled according to their original bay order; the condition of electronics and mechanics is checked.
- 1:1 cloning — each disk is cloned sector by sector onto healthy media; for mechanically damaged disks, this is done after intervention in a cleanroom. From this point on, we work only with clones; the originals remain securely stored.
- Virtual array reconstruction — we assemble the RAID array using specialist software, calculate the stripe, verify the offsets, and build the logical volumes (mdadm + LVM).
- Data export — we export your files from the assembled array onto replacement media.
- Verification and handover — we check the consistency and readability of the recovered data and hand it over on a new drive.
Our case study demonstrates that even huge arrays can be saved: recovering data from a 20-disk RAID 6 in a NAS, where 100% of the data was successfully restored over 11 days.
What it costs and how long it takes
The price and duration of recovery depend on the extent of the damage and the number of disks. Reconstructing a two-disk SHR with one faulty disk is one level of difficulty; recovering an eight-disk array after a failure with a corrupted file system and bad sectors is another. For selected NAS devices, the first indicative diagnostic is normally free and does not oblige you to commission recovery. No recovery, no fee applies to standard recovery charges; agreed paid work, notably targeted searches for or recovery of specifically requested deleted or other individual files, remains payable even without a result. You can find the indicative range in our data recovery price list.
Frequently asked questions
Can I read a NAS disk in Windows? No. Windows does not understand the ext4 and btrfs Linux file systems. The disk will appear empty or uninitialised. If you click „Initialise," you will destroy your data.
Can I take the disks out and put them into another identical NAS? It is risky. The new NAS has no information about your configuration — if it offers to „Create a new volume" and you confirm, it will overwrite the RAID metadata. Only insert disks into another NAS with the device switched off, in the exact original order, and never confirm anything that promises to initialise or create new storage space.
The NAS is offering to „Repair volume" — should I click? No. An automatic repair can fail and overwrite the corrupted structure with empty data. Leave the device switched off and consult a lab.
Can data be recovered from a NAS after a ransomware attack? In many cases, yes. If the NAS had snapshots enabled (btrfs), data can be rolled back to its pre-encryption state. Even without snapshots, ransomware often does not manage to encrypt everything. The key is to switch the NAS off immediately so the encryption cannot continue. We describe the detailed procedure in the article ransomware on a NAS — data recovery.
Do I need to bring the whole NAS, or are the disks enough? Ideally, bring the entire NAS with the disks labelled according to their bay order. Information from the device (model, firmware version, logs) significantly speeds up diagnostics and reconstruction. If the NAS did not survive, bring at least the disks with a description of the device model and numbered bays.
If your NAS has stopped working and the data inside it is important to you, do not experiment. Contact us by phone/WhatsApp on +420 775 556 063 or by e-mail at zachranadat@ithope.cz. We accept orders from all over the Czech Republic by post or courier; you can find us in person at our lab in Brno-Židenice. The first indicative diagnostic is normally free for selected NAS devices — we will be happy to tell you whether and under what conditions we can recover your data.
Where to find us
ITHOPE is a company based in Brno, Czechia: we do data recovery from disks, RAID and NAS, PC and laptop service and IT for business, all in our own lab at Viniční 3587/216, 615 00 Brno.
Phone +420 775 556 063 (24/7 line). You can bring the device in person, or send it by courier (Zásilkovna, PPL).