The situation
The client called on Monday morning. An external 1 TB drive (WD Elements 2.5”) had stopped working sometime over the weekend. The client had read online that „you just open it up and put the heads back on." He grabbed a screwdriver, the kitchen table, and two YouTube videos. He took the drive apart. When he reassembled it, it would not read at all — and so he brought it to us in a plastic bag.
After unsealing it in our laboratory, we found exactly what we had expected — and a bit worse.
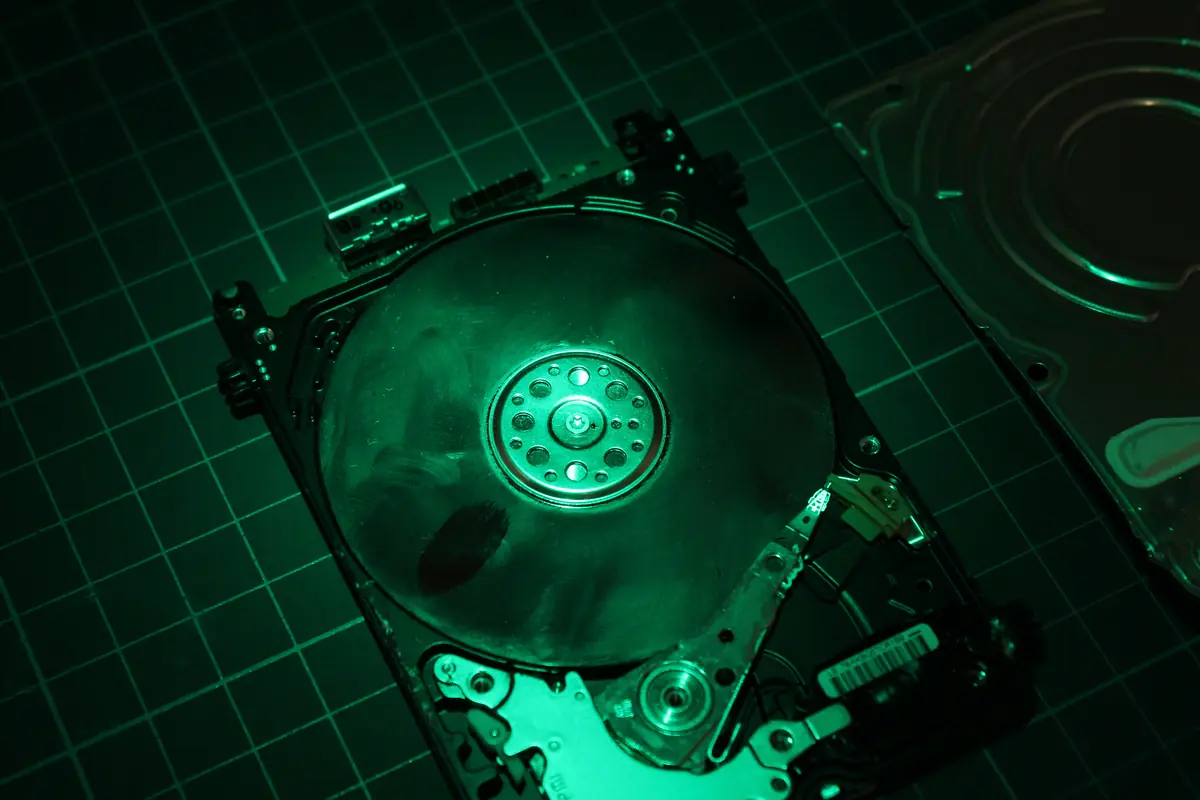
Diagnostics
A drive opened outside a clean environment is always a high-risk case. Here it was a combination of several problems at once:
- Smeared platter surfaces — fingerprints, fibres from a cloth, tiny specks of dust. Any particle larger than 0.5 μm between the head and the platter while running = a scratch and destroyed data.
- One platter with visible scratching — a circular scratch across several tens of thousands of tracks.
- Head stack destructively damaged — the slider and heater tip were bent, one of the heads completely snapped off during the client’s attempt to „put it back."
- Drive enclosure deformed — the client had tightened the screws with enormous force, the metal cover was bent by several tenths of a millimetre. Under normal circumstances the drive would not even have spun up.
Inspection under the microscope confirmed the worst — one of the six heads was „already-processed" — the client had already tried to replace it once and had damaged its arms.
The solution
The process ran for twelve days:
- Days 1–2: Complete disassembly in a Class 100 clean chamber. Every platter surface underwent a macroscopic inspection and careful cleaning with isopropanol + a special method for removing magnetic particles.
- Day 3: Ordering a donor — a WD 2.5” drive with matching firmware and geometry. It was not in stock, we ordered it from a trusted supplier, and it arrived the next day.
- Days 4–5: Preparing the donor. Transplanting the head-stack assembly — the most critical step. Once the head is off the parking ramp, it must not touch the platter for even a second. Precise micro-work in the clean room with a head comb.
- Days 6–8: Imaging via DeepSpar Disk Imager with an aggressive strategy for bad sectors. In total about 18% of the sectors would not read — of which 12% directly on the scratched platter. Cloning was done in several passes at different speeds.
- Days 9–10: Reconstructing the file system from the stage clone (NTFS with a damaged MFT). UFS Explorer with manual searching for record headers.
- Day 11: The client reviewed the recovered files. 82% of the files opened without errors. 12% partially — damaged JPG/PDF. 6% are missing entirely (those were on the most scratched part of the platter).
- Day 12: Handover of the data on a new SSD + backup to the cloud.
The result
- 82% of the data recovered (about 720 GB out of 880 GB of used capacity)
- 12 days in total
- The client received a list of the files that are missing — mostly holiday photos from 2019, which he accepted as a loss.
- He left with two copies: one NVMe SSD + the cloud (Mega Sync, because he wanted it for free).
In an email two weeks later, the client wrote: „If I had known you could do this, I would never have opened it."
The takeaway
Never open an HDD at home. Not because it is „complicated" — but because any particle between the head and the platter while running is the end for your data. A kitchen contains tens of thousands of particles larger than 1 μm in 1 m³ of air. A Class 100 clean chamber allows 100 particles of 0.5 μm per cubic foot. That is a difference of seven orders of magnitude.
If a drive clicks, blinks differently than usual, or the BIOS does not see it — do not touch it, pack it in an antistatic bag, and bring it to a workshop. Every additional power-on is a chance that the scratched platter loses more sectors.
What to watch out for
Most „YouTube HDD repair tutorials" show replacing the PCB (the electronics board) — there a screwdriver really is enough. Fully opening a drive with platters is another level: without a clean room you will almost always destroy more than you save. Recognising these two different kinds of video guides is the most valuable thing you can take away from this case study.
Have a similar case? HDD recovery enquiry · +420 775 556 063