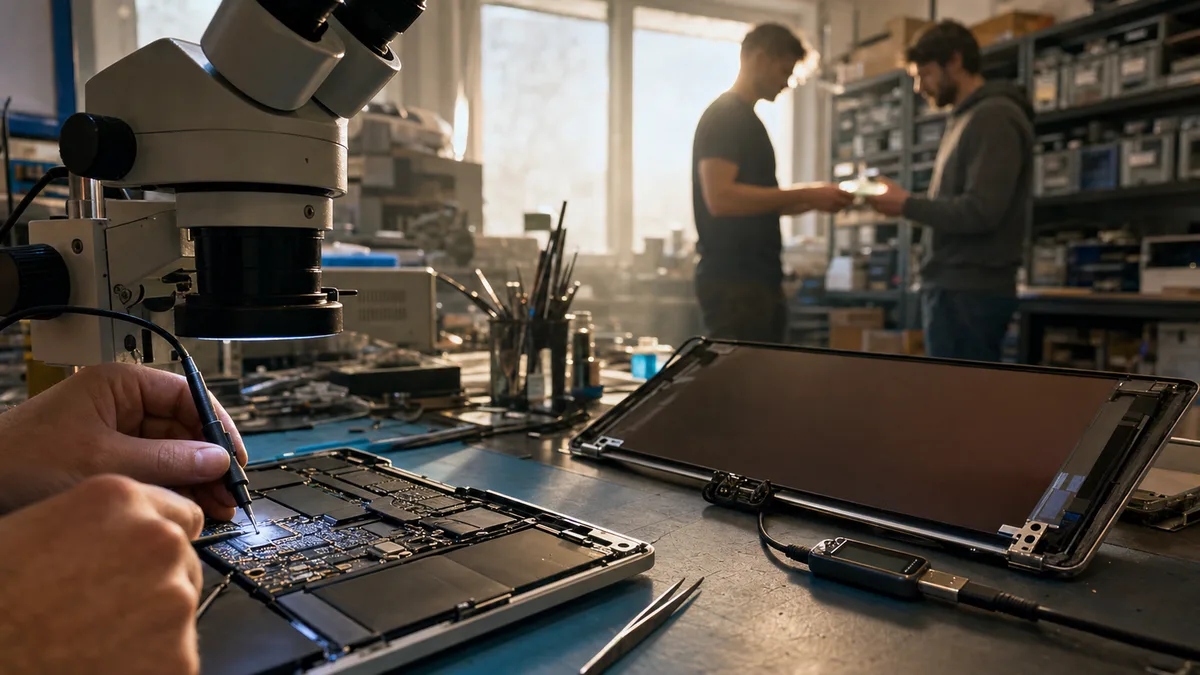
The short answer: When a MacBook won’t turn on, stop trying to start it over and over, and above all do not run Restore in Apple Configurator — that wipes the internal storage, encryption keys included. On MacBooks with the T2 chip and on Apple Silicon models the SSD is soldered to the logic board and its contents are always encrypted with keys held in the Secure Enclave, so desoldering the memory chips and reading them elsewhere simply doesn’t work: the only route to the data leads through at least partially reviving the original board. If the Mac is physically alive and you’re only dealing with a broken display or a broken system, the data can be pulled off through Share Disk in macOS Recovery. And before you do anything at all, check what you actually have in Time Machine and in iCloud — that is often a faster route than any recovery.
The MacBook is a chapter of its own in our data recovery catalogue. Almost everything that applies to ordinary laptops — take the drive out, connect it somewhere else, read it — no longer applies to newer Macs. The storage is part of the logic board and encryption is always running, even if you never consciously turned FileVault on. This article explains what can be done with the data inside a MacBook, when lab recovery is realistic, and what to do when even a Time Machine restore fails.
In 2026 you can no longer buy a new Mac with a replaceable drive — every model on sale is built on Apple Silicon, the storage is soldered to the board and Secure Enclave encryption is always running. The limitations described here are therefore not a quirk of a few of the newest machines, but the default state of practically every Mac bought in recent years. The current system is macOS 26 Tahoe; Apple switched to year-based version numbering in 2025, so macOS 15 Sequoia was followed straight away by macOS 26 — the version number therefore tells you nothing about how many system generations a given machine has seen.
What to do right away when a Mac won’t turn on
- Don’t keep restarting it. If the problem is a faulty power circuit or a liquid-damaged board, every further attempt pushes the fault along.
- Shut a liquid-damaged MacBook down immediately and don’t charge it. Corrosion on the board works even when the machine is off, but far faster when it’s powered. The first steps after a spill are covered in the article on devices that have gone underwater.
- Don’t start a macOS reinstall or erase the drive in macOS Recovery. Reinstalling „over the data" is usually reversible; erasing the volume is not.
- Watch out for DFU mode and Apple Configurator. Revive repairs the firmware and leaves the data in place; Restore wipes the storage completely. Guides on the internet routinely mix the two up.
- Don’t take the board apart at home. With a soldered SSD there is nothing to „pull out and connect elsewhere" — a DIY attempt only adds further damage.
- Write down what led up to it. A drop, liquid, an update, an unexpected shutdown — the order of events helps the diagnosis enormously.
And one check that costs nothing: sign in to iCloud from another device and look at what it actually holds. Desktop and Documents synced to iCloud Drive, photos in iCloud Photos — sometimes most of what matters is already off the computer without the owner knowing.
Soldered SSDs: why you can’t simply pull the drive out
Older MacBooks (Air and Pro Retina, roughly 2012–2015) use a proprietary plug-in SSD module. It can be removed and read in another computer through an adapter — on these models data recovery is closest to ordinary SSD work.
Starting with the MacBook Pro with Touch Bar (2016), Apple began soldering the SSD directly onto the logic board; the 13” model without a Touch Bar remained the exception. On boards from 2016–2017 Apple still left a service connector through which data could be transferred from a board that would power on. With the arrival of the T2 chip in 2018 that disappeared too — and since then, a MacBook’s storage lives and dies with its board.
The general laws of SSDs — the controller, translation tables, TRIM and why deleted data doesn’t come back — apply to Macs in exactly the same way, and are covered in detail in the article on why data recovery from an SSD is harder than from an HDD. With a MacBook, though, one more layer is added on top: encryption that cannot be bypassed.
T2, Apple Silicon and why chip-off doesn’t work
On MacBooks with the T2 chip (2018–2020) and on all Apple Silicon models (M1 and newer), the contents of the internal SSD are always encrypted — regardless of whether you turned FileVault on. The encryption keys are stored in the Secure Enclave, a hardware-isolated part of the chip, and never leave that particular piece of silicon.
The practical consequences:
- Desoldering the NAND chips (chip-off) does not make the data accessible. All you get from the chips is encrypted content that cannot be assembled without the keys from the Secure Enclave. A procedure that occasionally works on ordinary flash drives and some SSDs is a dead end on newer Macs.
- Moving the chips to a donor board doesn’t help. A foreign Secure Enclave does not know the original machine’s keys. The lab route runs through repairing the original board so that it at least boots — or, alternatively, through transferring the complete set of chips tied to the encryption, which is a demanding operation and not always feasible.
- FileVault adds yet another lock. Encryption is always running, but it is FileVault that ties decryption to the user’s password. FileVault enabled with no password and no recovery key means the data cannot be unlocked by Apple or by any lab — that is not marketing, it is how the system is built.
That is why we promise nothing over the phone with MacBooks. What decides the outcome is whether the processor and Secure Enclave are alive, not whether „the drive is good".
When recovery has a chance and when it’s too late
| Situation | What it means for your data |
|---|---|
| Mac works, the system just won’t boot | A good starting position — the data can be pulled off via macOS Recovery and Share Disk. |
| Broken display, Mac otherwise alive | Data is fine; it’s a matter of an external monitor or Share Disk. |
| Mac won’t turn on after a drop or short circuit | Board repair decides it. If the SoC with the Secure Enclave survived, there is usually a route to the data. |
| Liquid-damaged MacBook | The sooner the board is cleaned, the better; the chances fall as corrosion progresses. |
| Files deleted by mistake on a running Mac | Little chance because of TRIM — check Time Machine snapshots first, not recovery programs. |
| Erased volume, FileVault with no password or key | Without the credentials, nobody can make the data accessible. |
| Restore was run in DFU | The keys in the Secure Enclave were discarded — the data is irretrievably gone. |
For older models with a removable SSD module the table is more forgiving: there you work with the module itself and the odds depend on the type of fault, as with any SSD.
When a Time Machine restore fails
The second half of the story: the MacBook dies and its owner reaches for the backup with relief — only for Time Machine to announce it „must create a new backup", or for the backup not to load at all. The most common scenarios:
A backup on a NAS or Time Capsule. A network backup is stored in a disk image (a sparsebundle), and after interrupted backups — the Mac falling asleep mid-write, Wi-Fi dropping out — that image can become corrupted. The message about a new backup means Time Machine has written the old image off; it does not mean the image is unreadable. Don’t delete the old backup and don’t let it be overwritten — a substantial part of the history can often be extracted from a damaged image.
A failing backup drive. An external drive with Time Machine on it is an ordinary drive and it dies like any other. The same first-aid rules apply: don’t format it, don’t repair it, don’t run checks that write — covered in detail in the article on what to do when an external drive isn’t showing up.
Old vs. new backup structure. Since macOS Big Sur, Time Machine backs up to APFS-formatted drives using snapshots; older backups on HFS+ use a system of hard links. Each backup is therefore a snapshot of the whole volume: mounting a particular date is faster and doesn’t depend on walking hundreds of thousands of hard links as on HFS+. The flip side of the same coin is that the snapshots sit inside the target drive’s file system — so a damaged backup drive or a broken APFS container doesn’t spoil a single file, it can make whole series of snapshots inaccessible at once, meaning months of history. Both can be read and restored outside Migration Assistant, but damaged backups from the two generations need different approaches — another reason it makes sense to have them assessed rather than „repaired" with the first tool you find.
Local snapshots. When the backup drive is disconnected, Time Machine stores snapshots directly on the internal SSD. After accidentally deleted files it’s worth looking there first (tmutil listlocalsnapshots /) — it’s the one situation where TRIM plays no role, because the snapshot holds the deleted data.
Time Machine and the 3-2-1 rule
Time Machine is an excellent first backup — and a miserable only backup. The drive holding it usually sits right next to the MacBook: a fire, a burglary or a power surge takes both at once. And syncing to iCloud is not a backup; it obediently propagates a deletion or an encrypted file to every device.
A healthy setup for a Mac follows the 3-2-1 rule: working data on the Mac, Time Machine on an external drive or NAS, a third copy off the premises (cloud backup, a drive at the office or with family). Why exactly this way and what it really costs is covered in the piece on an external HDD as your only backup and the 3-2-1 rule.
After every MacBook data recovery we recommend the same thing: the first thing you spend money on afterwards shouldn’t be a new Mac, but a second copy of your data.
How diagnostics work and what to bring
When the Mac is at least partly alive, the fastest route is Share Disk (Apple Silicon: macOS Recovery → Utilities → Share Disk) or target disk mode on Intel models — the data is transferred to another computer without touching the machine. When it isn’t alive, board-level diagnostics come into play: power rails, the state of the SoC and Secure Enclave, and on older models removal of the SSD module.
For selected stand-alone SSDs, the first indicative diagnostic is normally free; diagnosing a whole MacBook is a different service whose terms we will quote in advance. We quote any data recovery before work begins. No recovery, no fee applies to standard recovery, not to agreed paid work such as targeted searches for, or recovery of, specifically requested deleted or other individual files. General pricing factors are covered in the article on how much data recovery from a drive costs.
For the diagnostics, please bring:
- the whole MacBook and its charger;
- the password to the user account and your Apple ID credentials (for Activation Lock and verification);
- the FileVault recovery key, if you saved it when turning FileVault on;
- the drive or NAS with the Time Machine backup, even a „written-off" one;
- a list of the folders that matter most.
Frequently asked questions
Can data be recovered from a MacBook that won’t turn on at all?
Often yes — what decides it is whether a board repair brings the processor and its Secure Enclave back to life. If it does, the data can be read out; if the chip itself is destroyed, no technology can reach it.
Does desoldering the chips and reading them in a lab work on a MacBook?
Not on T2 and Apple Silicon models. The contents of the NAND chips are encrypted with keys that never leave that particular unit’s Secure Enclave — the chips on their own hold nothing but encrypted content that cannot be reassembled. On older models with a removable module the situation is different and reading outside the Mac is usually possible.
I forgot my password and FileVault is on. What now?
What’s left is the FileVault recovery key, or unlocking through your iCloud account if you allowed that when turning FileVault on. Without one of these routes the data cannot be decrypted — that is FileVault working as intended, not a limitation of a particular lab.
I deleted files on my Mac by mistake. Will recovery software help?
On the internal SSD, usually not, because of TRIM — the controller physically erases the deleted blocks before long. Check Time Machine local snapshots and your backups first; recovery software makes more sense with external drives and memory cards.
Time Machine says it has to create a new backup. Have I lost my history?
Not necessarily. The message means Time Machine has written the old backup off for further backing up, not that it is unreadable. Don’t delete the old image — a significant part of the history can usually be recovered from it.
Where to find us
ITHOPE is a company based in Brno, Czechia: we do data recovery from disks, RAID and NAS, PC and laptop service and IT for business, all in our own lab at Viniční 3587/216, 615 00 Brno.
Phone +420 775 556 063 (24/7 line). You can bring the device in person, or send it by courier (Zásilkovna, PPL).