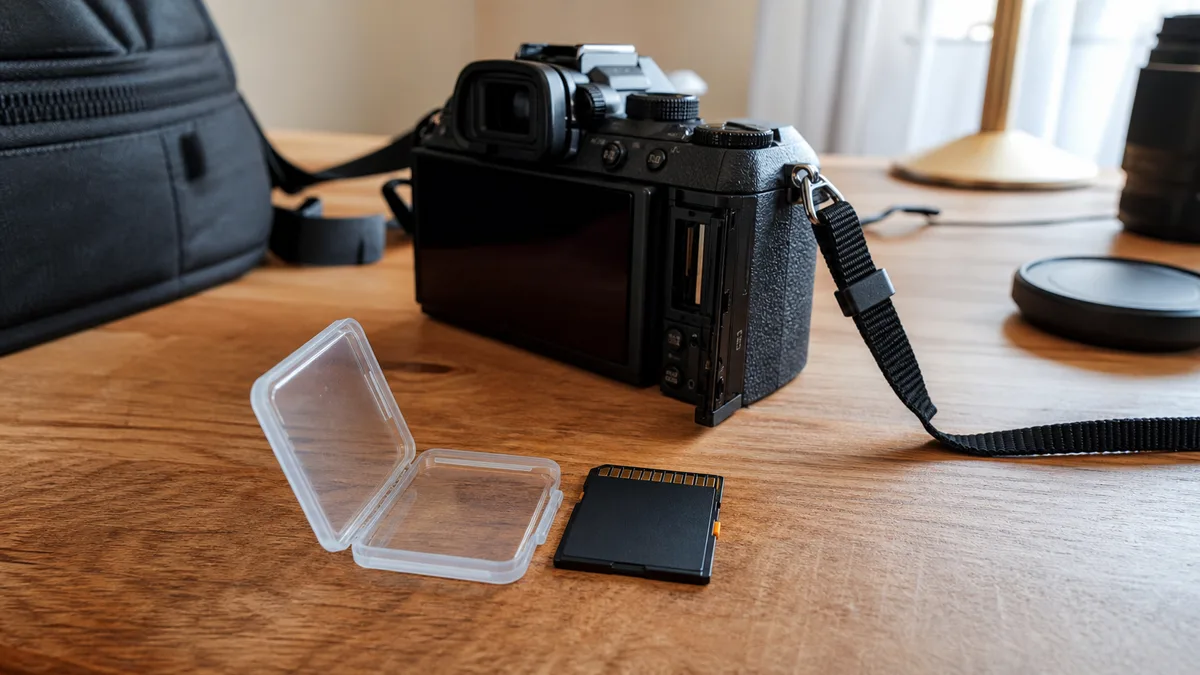
Quick answer: Take the card out of the camera, camcorder, or phone immediately and stop shooting on it. Deleted photos on an SD card usually remain physically intact until you overwrite them with new shots — every additional photo, video, or „test„ shot can destroy them for good. If the card says „you need to format it," click Cancel; formatting isn’t a repair, it’s a write operation over the very structures used to locate files. Only run recovery software on a copy of a card that reads reliably — a card your reader can’t see at all, or that reports a nonsensical capacity, is not something any program will fix at home.
Every year after the holidays, it’s the same story: a card full of an entire summer’s photos, and one bad moment. An accidentally confirmed „Delete All," a card that suddenly won’t read, or a formatting prompt right in the middle of browsing shots. What separates recovered photos from permanent loss isn’t the quality of the recovery software — it’s what you do with the card in the first few minutes.
What to do right away
- Stop shooting photos and video. New files get written to space the system considers free — which is exactly where the deleted shots live.
- Take the card out of the device and put it away in a case or box.
- Cancel every prompt to format — in the camera, in Windows, and on the phone.
- Don’t run CHKDSK or any „repair" tool on the card; these tools work by writing to it.
- Don’t save anything to the card „just temporarily," and don’t use it as a transfer drive.
- On a full-size SD card, flip the Lock switch — it’s an extra layer of protection.
- Write down exactly what happened and in what order: deletion, formatting, error message, device drop, water exposure.
One controlled test is worth doing: try a different reader, a different port, or another computer — cheap readers and worn contacts can convincingly mimic a „dead" card. If the behavior doesn’t change, further attempts won’t tell you anything new.
Deleted photos: why they stand a decent chance on an SD card
SD cards in cameras and camcorders use the FAT32 and exFAT file systems. When you delete a photo, the system typically just marks the directory entry and the corresponding space as free. The actual image data stays in memory until a new write overwrites it.
That’s a fundamental difference from an internal SSD, where the system sends the drive a TRIM command and the controller eventually physically erases the deleted blocks itself — we cover why that makes SSDs so much harder in our article on SSD data recovery. A camera typically doesn’t do anything like that during normal deletion. That’s why deleted photos on a card that hasn’t been shot on since rank among the most solvable data recovery cases there are.
The same logic applies to a quick format in-camera: it overwrites the file system structures but leaves most of the actual image content in place. Just watch out for options like „full format„ or „low-level format" — those pass over the entire card, and afterward there’s usually nothing left to recover.
What hurts your chances the most, on the other hand, is continuing to shoot: new files claim the freed-up space, leaving only fragments of the original photos.
The card „wants to be formatted" or shows up as RAW
The message „You need to format the disk before you can use it" doesn’t mean your photos are gone. Windows simply didn’t find a file system structure it recognizes — typically after the card was pulled out mid-write, the battery died in the middle of saving, or the reader glitched. We cover the decision process for this situation in our article on a drive asking to be formatted (RAW) — it applies to SD cards without exception, including the golden rule: don’t click Format.
It’s important to distinguish between two situations that look similar but call for completely different responses:
| Card state | What it usually means | What to do |
|---|---|---|
| Card is detected, reports the correct capacity, but shows as RAW | Corrupted file system | Logical recovery from a sector image, good odds |
| Card is detected, but reading stalls, files open only „after a few tries" | Degrading NAND, controller reading through errors | Minimize reads, capture an image in a controlled way |
| Card reports 0 B, a nonsensical capacity, or a generic name | Controller or its service data has failed | Software won’t help, the only path is reading the NAND directly |
| No reader on any computer detects the card | Electrical fault, torn contacts, physical break | Lab intervention only |
The first row is good news and can often be resolved yourself. The third and fourth rows are the exact opposite: every further connection attempt is pure risk, and no downloaded program will change that.
When recovery software is enough — and where it stops
DIY recovery makes sense when two conditions hold at the same time: the card reads reliably (no errors, doesn’t drop out of the system, copying from it doesn’t stall), and the loss is logical — deleted files, a quick format, a corrupted file system.
Even then, a few rules determine the outcome:
- First capture a sector image of the card onto your computer’s disk, and run every scan against that image, never the original.
- Never save recovered files back onto the same card.
- Verify the result by actually opening the files, not just by checking names and sizes — a file being found doesn’t mean the photo is readable.
Tools like PhotoRec, DMDE, or R-Studio can search for files by signature when the file system is damaged — they recognize the start of a JPEG or an MP4 directly in the raw data. The price for that is noticeable: recovered files often lose their original names, folders, and sometimes even their capture date.
The weakness of signature-based searching shows up most with video. Long recordings tend to be stored on the card in pieces, and when a tool reassembles a file based only on its start and an estimated length, the result is a video that won’t play or freezes partway through. Fragmented camcorder video is a common reason a card ends up with us after a DIY attempt — sometimes, unfortunately, only after additional writes that have already shrunk the chances of recovery.
DIY definitely stops being an option the moment the card isn’t reading reliably, reports the wrong capacity, or holds the only copy of something you can’t afford to lose — a wedding, an anniversary, footage for a client. In that situation, set the card aside and describe the fault. We will quote the terms of assessing the memory card and any recovery in advance; we do not promise a free card diagnostic.
Monolith: the whole card in a single sealed package
Here’s why SD cards get handled differently from regular drives in a lab. MicroSD cards are practically always a monolith: the controller, the NAND memory, and the interconnects are all sealed into a single compact package. Nothing can be „taken out and read elsewhere" the way you’d desolder the memory chip from a broken USB flash drive. A good portion of full-size SD cards share this same construction today; others are built inside from separate chips.
When the controller fails in a monolith, there’s exactly one way to reach the data: get to the test pads — service contacts the manufacturer used during production and testing that aren’t broken out to the card’s normal pins. That means sanding down the coating on the package, tracing or measuring the pad layout for that specific card model, connecting to them, and reading the NAND memory’s contents directly.
That’s where the real work begins, not ends. A raw NAND dump without its controller is an unassembled mosaic: the data is interleaved, scrambled, and protected by error-correction codes, and the method for reconstructing the original sectors from it varies by controller and firmware. It’s the same principle we describe for SSDs — just in miniature.
In practical terms, that leads to one conclusion: there’s no point trying to „get a card working again" by bending it, heating it, or soldering it at home. A monolith is one fragile piece — and an amateur attempt can turn a solvable case into an unsolvable one.
Counterfeit cards: capacity that doesn’t exist
A category of summer data loss all its own: cards bought at a bargain from online marketplaces that claim a capacity they physically don’t have. A counterfeiter reprograms a small card’s controller to report itself as many times larger — while copying the packaging and printing of a well-known brand.
The insidious part is that the card works fine at first. Photos save normally as long as writes stay within the real capacity. Once writes exceed it, new data gets lost or overwrites the old — and the user only discovers it back home: some photos are missing, some are gray squares, videos won’t play. This isn’t a defect; data written „into memory that doesn’t exist" can’t be recovered, and the only thing that can be saved is whatever fit inside the real capacity.
The defense is cheap: before the season starts, test a new card with a tool that writes across its full capacity and reads it back — h2testw does this for free on Windows, and F3 on Linux and macOS. And buy cards from sellers where a warranty claim actually means something.
A card that’s been through water, broken, or damaged in an adapter
A card that’s been through the washing machine or ended up in the sea is usually better off than its owner expects — as long as it isn’t plugged in wet, with salt residue still on the contacts. First aid is the same as for a phone: don’t plug it in, don’t dry it with heat, and have it professionally cleaned. We cover this in detail in our article on devices that went underwater.
Mechanical damage carries a worse prognosis. A cracked full-size SD card may have only a damaged case; but a broken microSD is a broken monolith — and if the crack runs through the chip’s structure, the data is gone for good. A common and needless case is a microSD „destroyed" by a cheap SD adapter: corroded contacts in the adapter present themselves as a faulty card. Before you write it off, try a different adapter or a native microSD slot.
When to stop, and what to bring with you
It’s time to stop trying when the card isn’t reading reliably, when the software has found files that won’t open, and when it holds the only copy of important memories or work footage. The number of attempts matters — the hardest cards to recover are the ones that went through three programs and two formats before being handed over.
Bring the following for diagnostics:
- the card itself (for microSD, include the adapter it was used in),
- a description of what happened and what’s already been tried — including failed attempts,
- the model of the camera, camcorder, or phone the card was used in,
- a list of priorities: which folders, dates, or events matter most.
We will quote the terms of assessing the SD card and any recovery in advance. Targeted searches for, or recovery of, specifically requested deleted or other individual files are agreed paid work and remain chargeable even without a result. No recovered data, no recovery charge applies only to standard recovery.
How to avoid losing photos next time
An SD card is a transfer medium, not an archive — it isn’t built to hold the only copy of a month’s worth of vacation photos.
Three habits that prevent most losses:
- Offload regularly. After every day of shooting, or at the very least after every event. A card holding three vacations’ worth of photos is a gamble.
- Use two smaller cards instead of one large one. That way a loss or failure never takes everything with it; cameras with two card slots can write to both at once.
- Back up using the 3-2-1 rule — the original on your computer, a copy on an external drive, and a third copy off-site. We walk through this in practice in our article on external HDDs and the 3-2-1 rule.
And one small tip for the start of the season: format the card in the camera it will actually be used in, not on a computer — that heads off a portion of write errors before they happen.
FAQ
Can deleted photos be recovered from an SD card with free software?
Often, yes — as long as no photos were taken on the card after the deletion and the card reads reliably. Work from a sector image, and expect that files found by signature may lose their names and folders. For an unstable card or irreplaceable data, it’s safer to start with a diagnostic.
The card wants to be formatted. Should I do that and then recover the photos with software?
No. Formatting writes new structures over the ones used to locate files, making recovery harder or impossible. Click Cancel and handle the recovery from the card in its original state.
Why won’t the recovered video play?
Long recordings tend to be stored on the card in pieces, and software that searches purely by signature can’t always reassemble them correctly. Fragmented video requires manual reconstruction — and every additional write to the card takes away material it needs.
Can a broken microSD card be recovered?
It depends where the crack runs. A microSD is a monolith — controller and memory in one sealed package. If only the case or the contacts are damaged, the data can be retrieved; if the crack runs through the chip itself, recovery may not be possible. There’s no way to tell without a diagnostic.
How do I spot a counterfeit card with a fake capacity?
Test it right after purchase with a tool that writes across the entire capacity and verifies it by reading it back (h2testw, F3). A counterfeit gives itself away when the data beyond the real capacity doesn’t match.
Where to find us
ITHOPE is a company based in Brno, Czechia: we do data recovery from disks, RAID and NAS, PC and laptop service and IT for business, all in our own lab at Viniční 3587/216, 615 00 Brno.
Phone +420 775 556 063 (24/7 line). You can bring the device in person, or send it by courier (Zásilkovna, PPL).